
To enable website tracking in Force24, including capturing forms on your website, you'll need to install the tracking script. This gives you insight into your contacts' web activity and lets you trigger more personalised, relevant emails.
Getting your tracking script
Step 1: Open Website Management
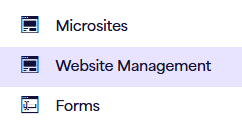
From the platform homepage, select 'Website Management' from the menu.
Step 2: Create a new website
Select 'Create New'.
Step 3: Complete the website details
Enter the following details for the website you want to track:
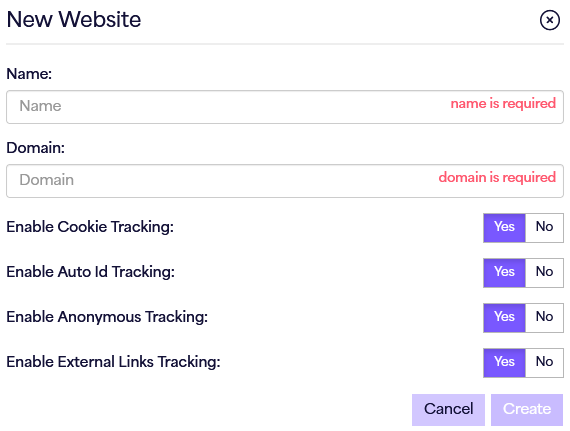
- Name: The name of the website you're managing. You can add multiple websites if needed.
- Domain: The domain of your website.
N.B. If you copy the URL from your browser, it will include HTTP:// or HTTPS://, which the platform won't accept. Remove HTTP:// or HTTPS:// and any forward slashes at the end
The following example will be rejected:

The following example will be accepted:

Tracking options
The other yes/no options are explained below. We recommend leaving these set to YES to get the most out of the tracking script.
- Enable cookie tracking: Allows the script to set a cookie when a user arrives from an email or submits a form (see How to capture external forms with Tracking Script (v3)). This lets you see that user's activity on your site.
- Enable Auto Id Tracking: Allows the script to track an unknown user's activity. If they later become a known user by submitting a captured form or arriving via an email, their earlier activity is associated with them.
- Enable Anonymous Tracking: Tracks the activity of unknown users.
- Enable External Links Tracking: Allows the script to detect external links and track them when visitors leave your site for those destinations.
Step 4: Copy your tracking script
Once you've entered these details, you'll be taken to a page where you can retrieve your tracking script.
N.B. Each tracking script is unique to its website entry. You can use the 'Add' button to add more locations to an existing website, but these will share forms and pop-ups. If you're adding a separate website, create a new website entry instead. Each location also has its own unique tracking script.
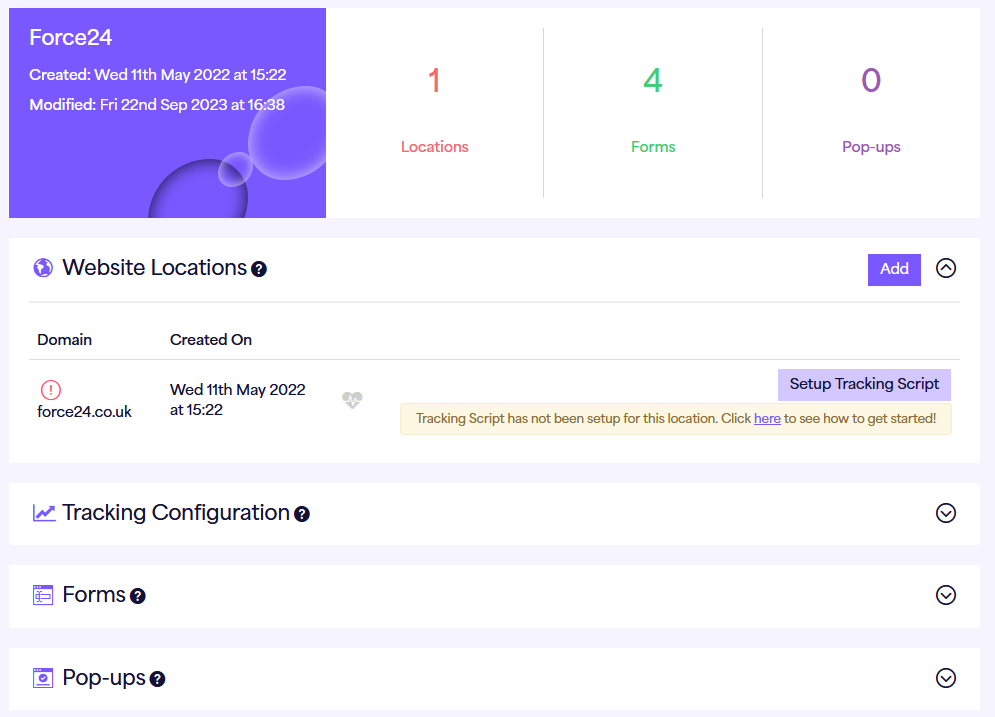
Click 'Setup Tracking Script' to display your tracking script in a pop-up window.

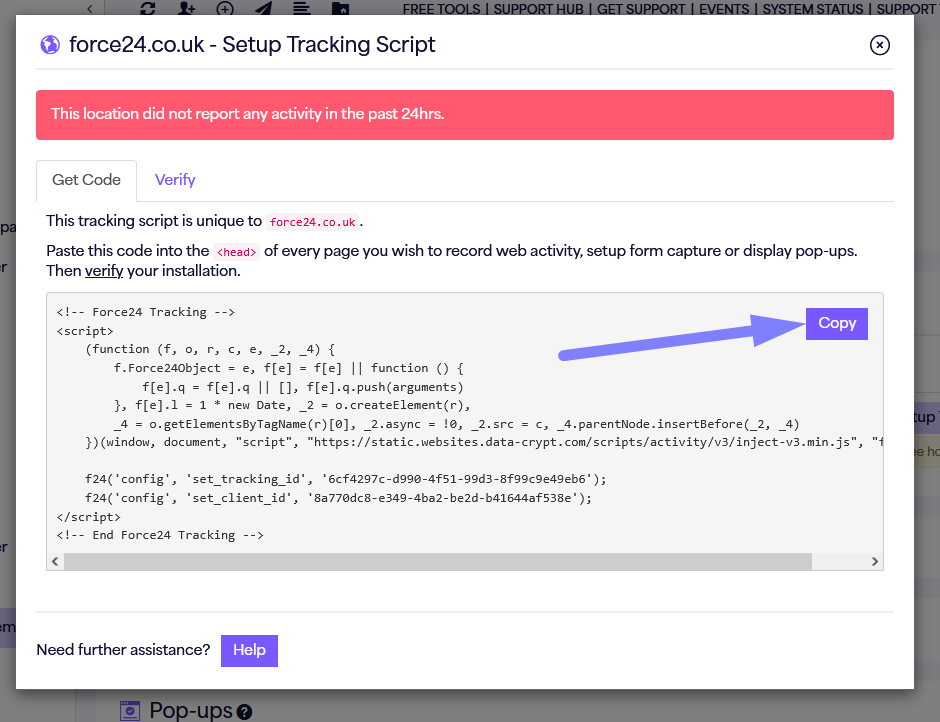
Click 'Copy', then add the script to your website. See the next section for details.
N.B. This tracking script is specific to the website you just created. To get a script for another website, repeat the process.
Inserting the tracking script onto your site
How you add the script depends on how your site is built and the system you use. The script needs to be on every page of your site. You can do this in either of the following ways:
- Before the closing </body> tag on every page
- In the <head> of the website
Either option will add the script to every page. In most cases, you can simply paste it into your site's header component, as this is already included on every page.
Cookie consent and compliance
You may want to load the script through your cookie management platform so that it only runs once a visitor has given consent. You can do this using Google Tag Manager or another tag manager or consent tool. Whichever method you use, make sure the script is deployed on every page you want to track, either in the website's <head> or before the closing </body> tag.
Replacing the previous script
If you're using the previous tracking script (v2), you'll need to replace it with the new script.
Verifying the tracking script
Once the script has been added, return to the platform to verify that it's in place. The script won't function until this is done.
Open your site in Website Management, click 'Setup Tracking Script', then select the 'Verify' tab. Click 'Verify Setup' and the platform will scan your website to check that the script has been installed correctly.
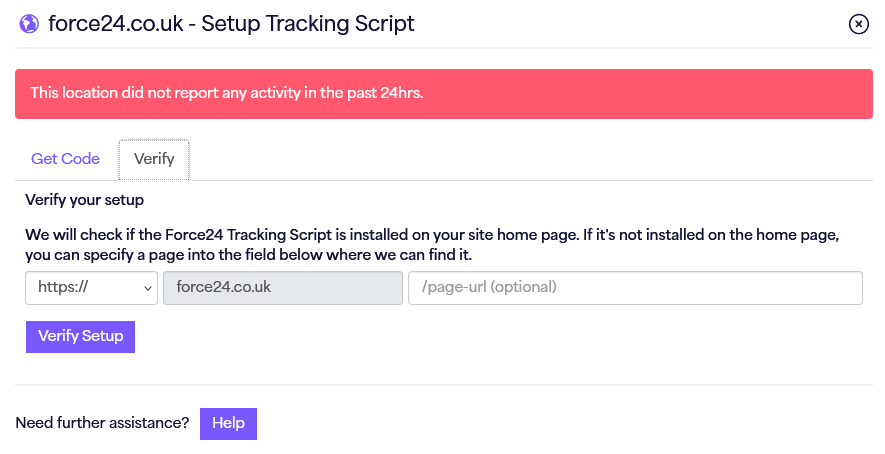
Once verification is successful, you can push the changes to activate your tracking script.