
In most cases your form can be located and mapped via the platform automatically but in certain cases the form will not be automatically located for various reasons.
If you are unable to map your External Form automatically, you will need to do this manually. This requires a few steps:
1. Finding the forms CSS selector
2. Adding the forms fields
3. Finding the Input/ fields name attribute
4. Mapping your fields to Force24 fields
Finding the forms CSS selector
To find this you will need to open the page the form resides on (for this example we are using https://landing-support.force24.co.uk/ninja-forms-test/) and right click on the form (usually best to do this on the first input of the form) and then click inspect you will then be shown a window of the HTML of your webpage which will look something like below.
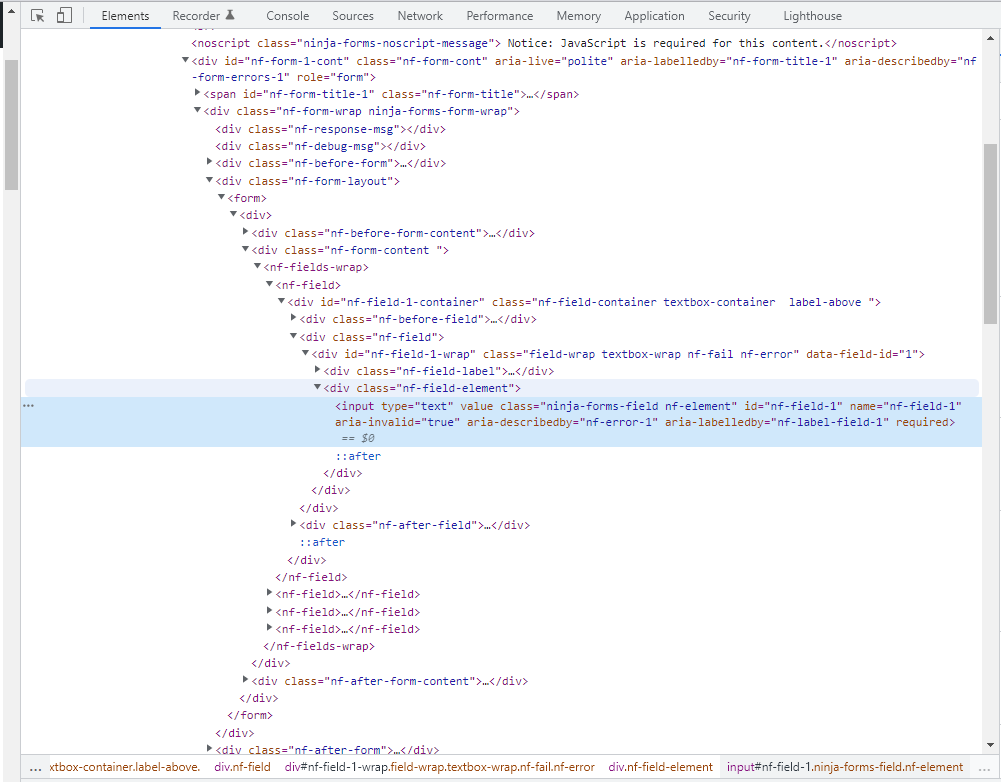
From this, we will need to find the <form> element
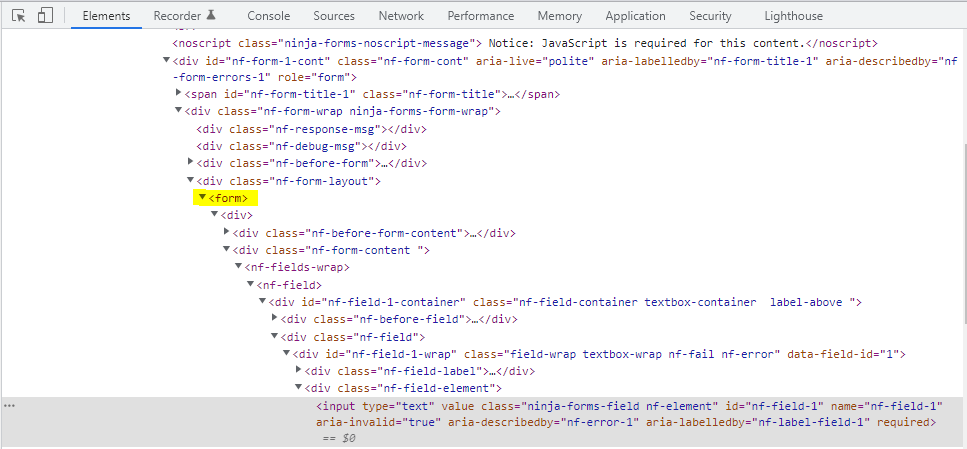
In this example you can see the form element has no attributes to target it (ID, Class). In this case (Ninja Forms - A Wordpress plugin) the unique ID of the form resides on a <div> element before the <form> element so we will need to use this to target the form.
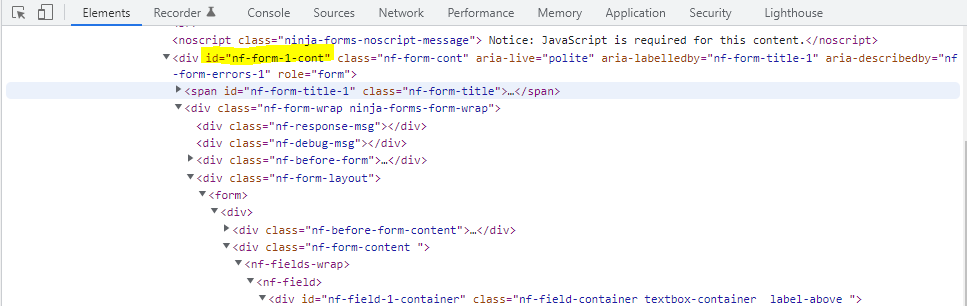
Ideally, you always want to use an ID attribute to do this, as it will be unique to this form and will enable the same form to be captured across your website.
So, in this case, to target the form we will need the following CSS selector :
#nf-form-1-cont form
With the '#' standing for ID. If it was a class you were targeting you would use '.' (full stop).
The 'nf-form-1-cont' is the id's value
And the 'form' being the form nested inside the element with the ID.
We can now use this CSS selector to successfully target this form on any page on your site it resides