
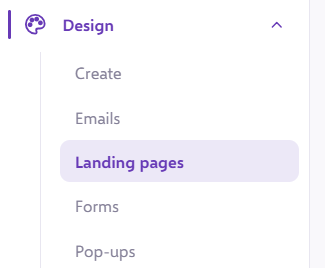
From the left-hand navigation menu, select the 'Landing Page' tab.
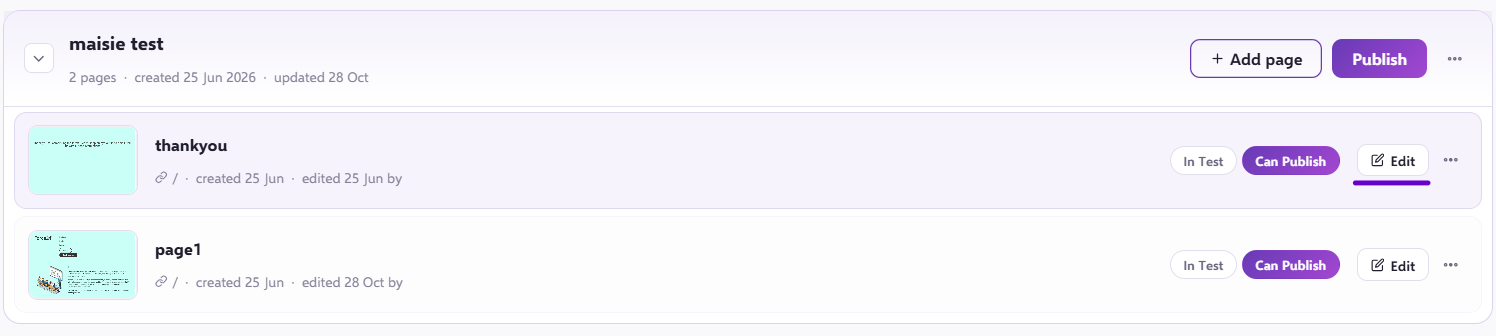
You will then be presented with a list of all of your existing Landing Pages. Locate the Landing Page containing the page which holds the image you wish to edit.
This will then open your Landing page:
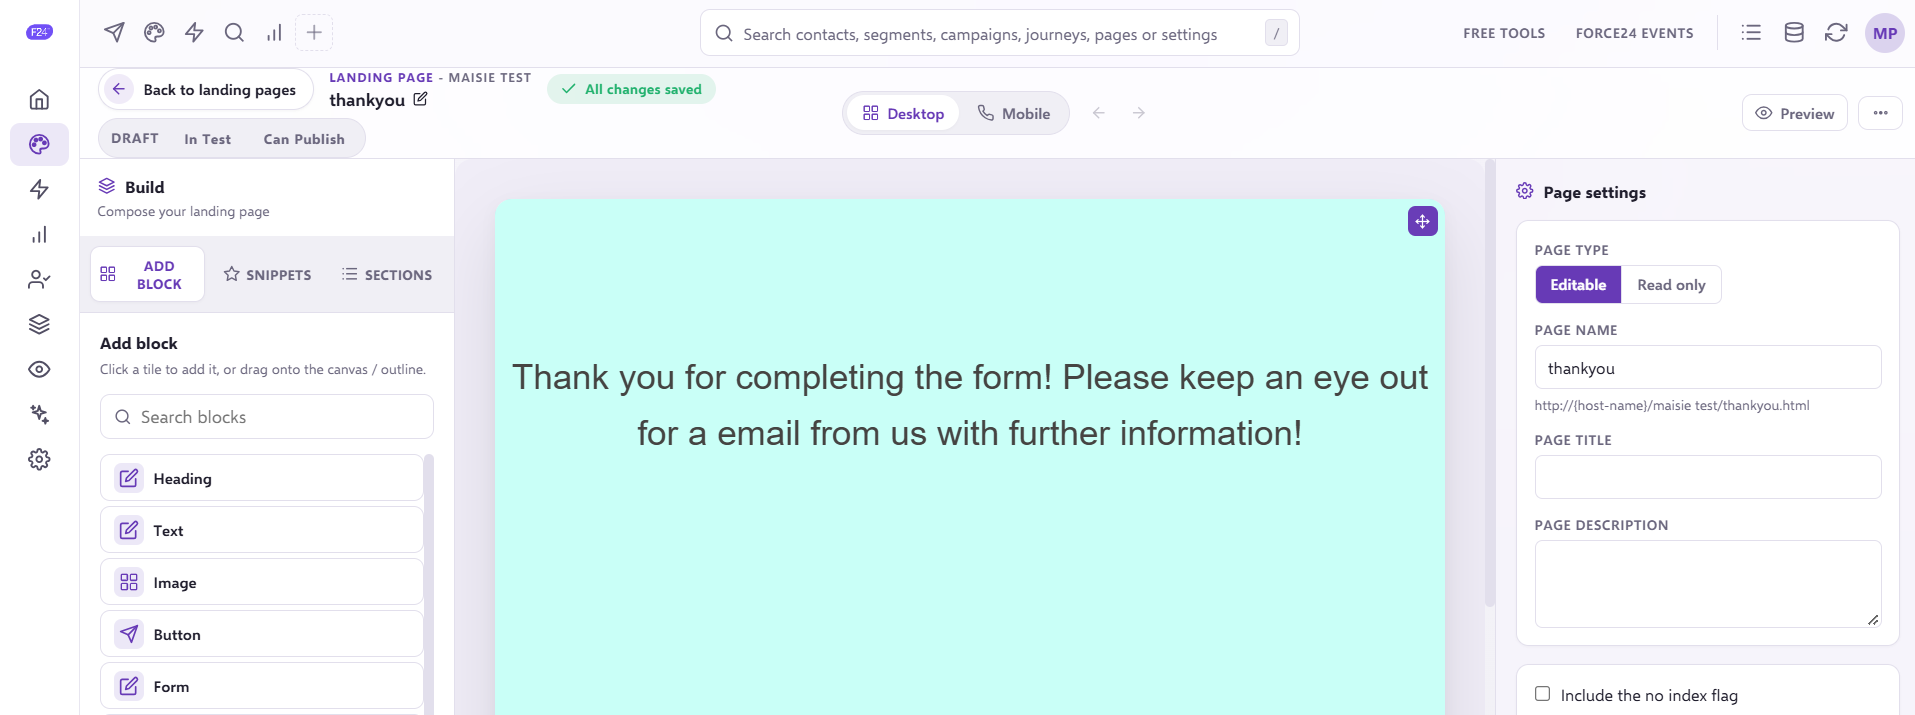
Click the image you wish to edit and you will be presented with the Image settings:
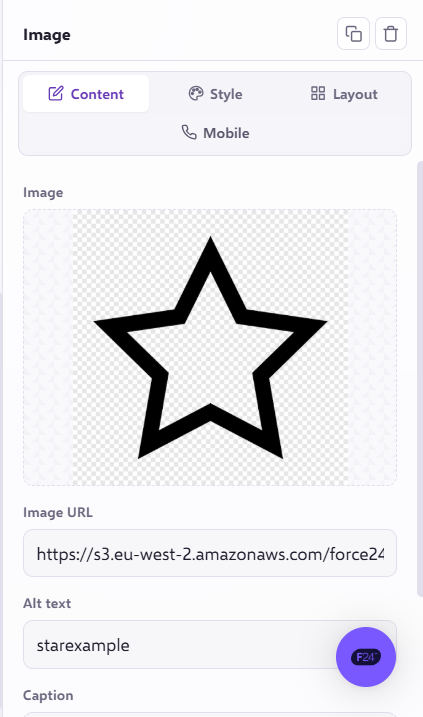
The Image setting column, contains options including; ‘Content’, ‘Layout’, ‘Style’, and 'Mobile’.
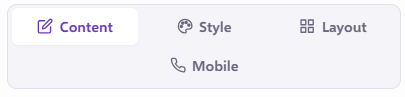
The Content tab
This includes settings such as; ‘Image URL’, ‘Alt text’, ‘Caption’, and ‘Width’.
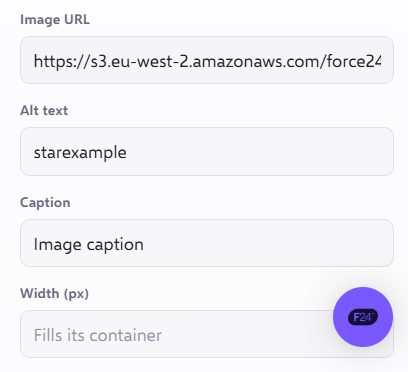
‘Image URL’ - This is the URL of the image.
‘Alt text’ - This would be the name of the image that may be different to how it is named in your files.
‘Caption’ - Here you can choose whether your image has a caption. A short description of what the image is displaying.
‘Width’ - Here you can specify the maximum width of your image.
The Style tab
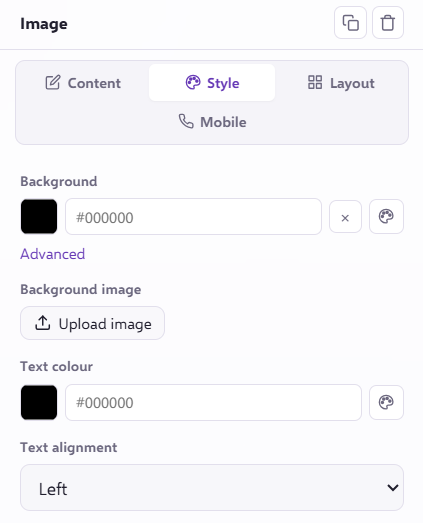
The Image setting column, contains options including; 'Background', 'Upload Image', 'Text Colour', and 'Text Alignment'
'Background' - This controls the colour of the background. You will notice that there is also an 'advanced' option, this is where you can add any additional CSS code to your background.
'Upload Image' - This is where you can add an image to your background.
'Text Colour' - This controls the colour of your text.
'Text Alignment' - This is where you can choose whether your text is left-aligned, centred, or right-aligned.
The Layout tab
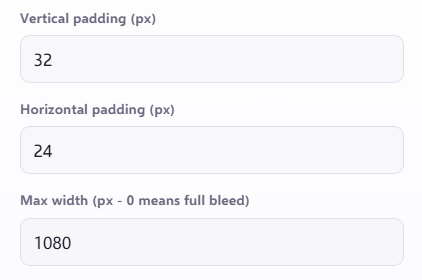
This includes settings such as; ‘Vertical padding’, ‘Horizontal padding’, and ‘Max Width’.
‘Vertical padding’ - Here you can specify the maximum vertical padding of the image.
‘Horizontal padding’ - Here you can specify the maximum horizontal padding of the image.
‘Max Width’ - Here you can specify the maximum width of the image.
The Mobile tab
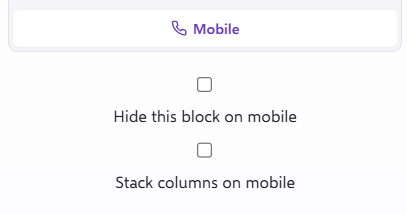
This setting allows you to choose the option of hiding the image in mobile view or stacking the images, if there are more than one.