
Creating and sending a standalone SMS campaign in Force24 is a straightforward process. This guide walks you through every stage, from the initial setup to the final scheduling.
Step 1: Start the campaign
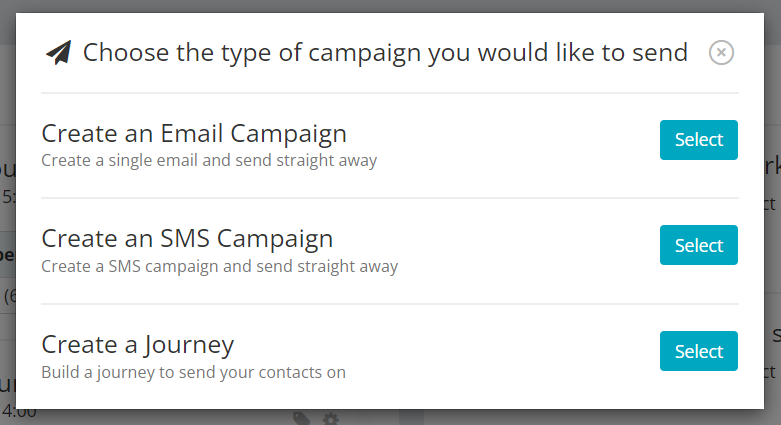
Start by clicking the paper plane Create Campaign icon:

Once there, select Create SMS Campaign:
Step 2: Apply campaign tags (optional)
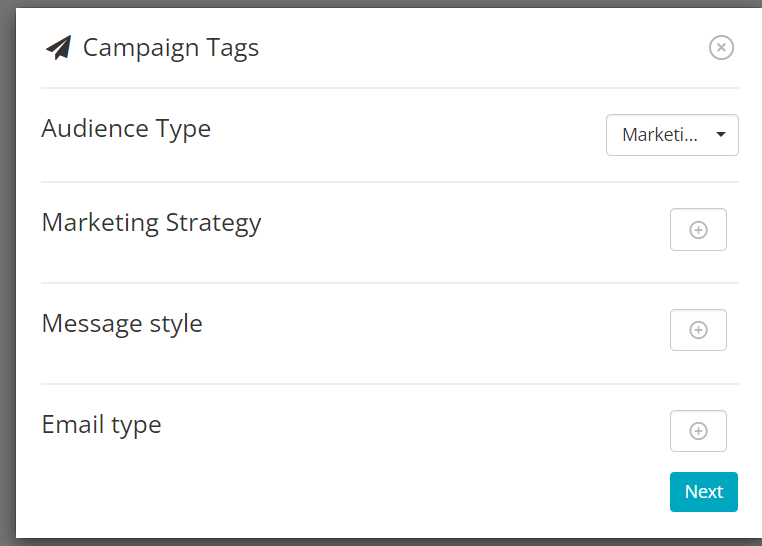
The next section lets you tag your campaign, in the same way as you would tag your email campaigns. Once you have applied the tags you want, click Next:
Step 3: Set up the sender details
Complete the following fields:
- Name: enter a clear name for your campaign. This is how you will find your report in the Your Campaigns section once your SMS has been sent.
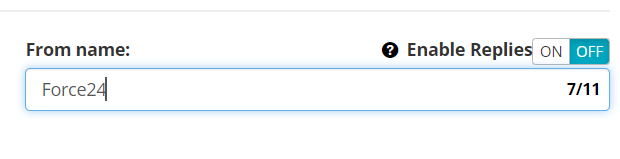
- From Name: this defaults to what has been set in your settings, which is usually your company name. To change it, type the From Name you want into the text box.
Enabling replies
If you want to allow replies, select ON. When replies are enabled, the SMS is sent from a specific system number, which cannot be changed or customised.
Want to customise your Sender ID?
To find out how to customise the name that appears in your contact's mobile inbox, and the rules it must follow, read our Customising an SMS Sender ID article.
Step 4: Select your target audience
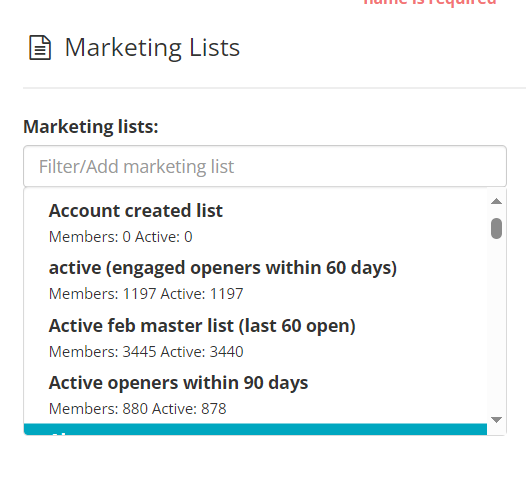
The next step is to choose the Segment you want to send to. The Segments on the left are all the active Segments available. When you select your target Segment, it moves automatically to the right, under Active Segments:
Step 5: Write and personalise your message
Type your message into the SMS Text box. You can add the following to your message:
- Personalisation: this works in the same way as personalised fields in an email. For example, to pull the contact's first name into the SMS, use
[FirstName]. - Tracking links: to insert a trackable URL placeholder, the destination must be written exactly like this:
[url=https://someurl.co.uk]. - Opt-out links: to make sure recipients can opt out, use
[OptOut]or click the Add Opt Out Link button in the SMS editor.
Don't use a link shortener
Links placed inside the [url=] component are shortened automatically by our system. Avoid using external link shorteners, such as Bitly, as this can cause the URL to break.
Want to know more about writing SMS messages?
For more on character counts, technical limits and input warnings, read our SMS Technical Guidance article.
Your SMS previews on the right-hand side, so you can check that all your placeholders are pulling through correctly:
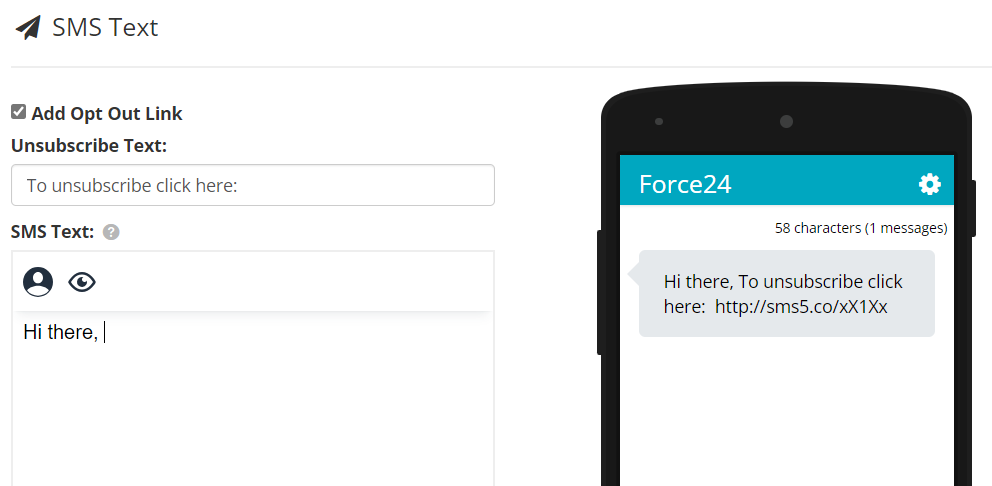
Once you have finished writing your SMS, click Next.
Step 6: Schedule or send
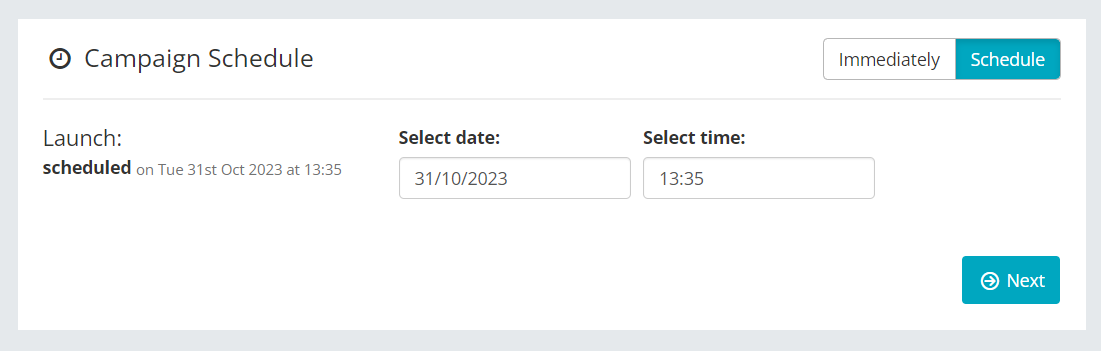
Here you choose when your campaign is delivered. Either send it Immediately, or select Schedule to pick a specific date and time:
Step 7: Review and approve
The final stage is to check your work on the Campaign Overview page. If you are happy that everything is set up correctly, click Approve and Schedule to send your SMS:

How do I monitor my results?
You are then taken to the Your Campaigns page, where you can track delivery rates, clicks and user behaviour.
Need a hand?
If you have any questions, please reach out to us using the live chat bubble at the bottom right of the Force24 platform. Our team is ready to help whenever you need it.