
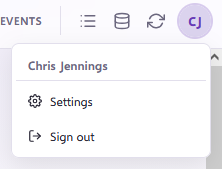
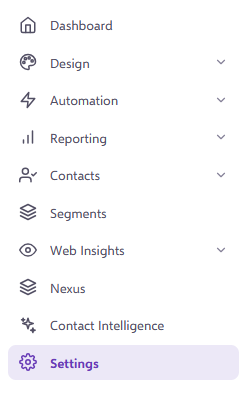
In order to create a custom data field, you need to first head to the Settings either by your initials at the top right or in the bottom of the left-side site navigation.
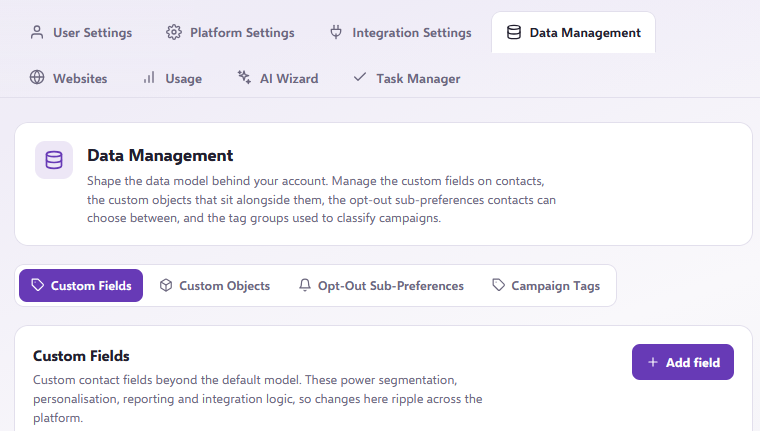
Go to the Data Management tab. Custom fields are the first option within it. To create a new field, click the Add field button at the top right of that section:
The Create Field menu will open, which is where you fill out the details of the custom field you would like to create: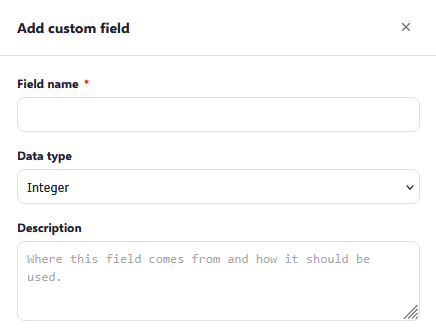
- Field name: This is the specific field name you would like to create to use for your queries and personalisation tokens. Therefore, be mindful to name the field something unique and specific to the data it will contain.
- Data type: This is where you would select the kind of data format you would like to utilise, such as numerical, calendar date, or email address. It is very important that you select the relevant data type here, as this cannot be changed once the field is created. A full glossary of the data types available can be found in our Contact Extension data type definitions article.
- Description: This is your own description of what data is going to be held in this field. The description will be displayed in the Settings page, alongside the field name, so any new users to your Force24 account will know exactly what this field is to be used for.
Once you have applied all of the relevant information, just click Save. The new field is now immediately available for you to use.
Now, you need to apply these fields to your contacts. Learn more in our Applying custom fields to contacts article.
Need further assistance?
If you have any questions, email Force24 support at support@force24.co.uk which will open a support ticket for you, or reach out through the live chat function in the bottom right of your platform.