
As your account grows, it can become harder to keep track of everything that is going on. To help, we developed a feature called Projects, which lets you group folders into a single workspace.
You can add items from anywhere in the platform and organise them into project folders. Here is how to use it.
Opening Projects
Look for the Projects icon in the top menu of the Force24 platform: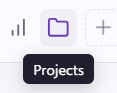
When you open Projects, you will arrive at your dashboard. It works in a similar way to 'My Computer' on a PC, or 'Finder' on a Mac: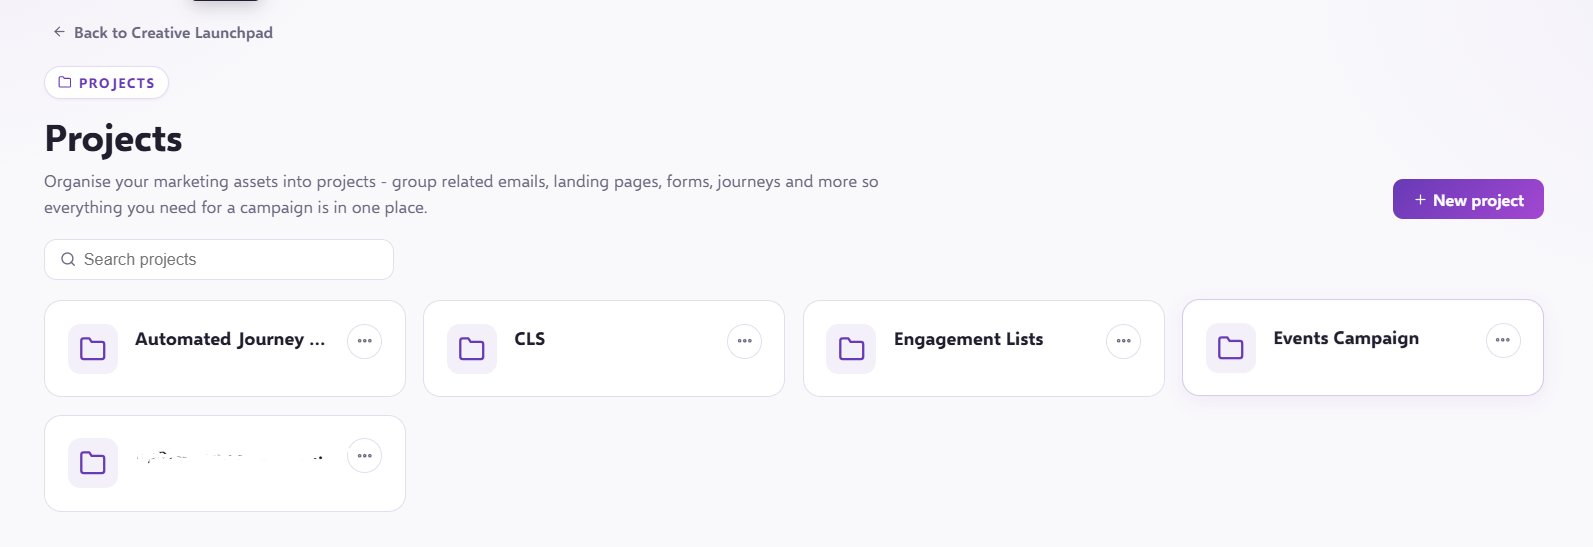
Creating a project
To get started, add a new project. Give it a name, then click Create:
Your project will now appear in the projects list: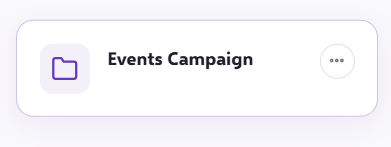
Click the three dots (...) to open a menu where you can carry out the tasks below: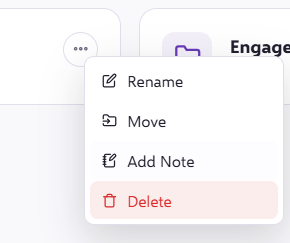
Adding notes
To keep everyone informed about what you have done, you can make a note that lives alongside your project and its sub folders.
To use this feature, click Add Note. Once the note opens, you can type straight in or paste in any useful information.
There is no need to save, as the note saves automatically when you exit. To move on, click the X in the top right hand corner.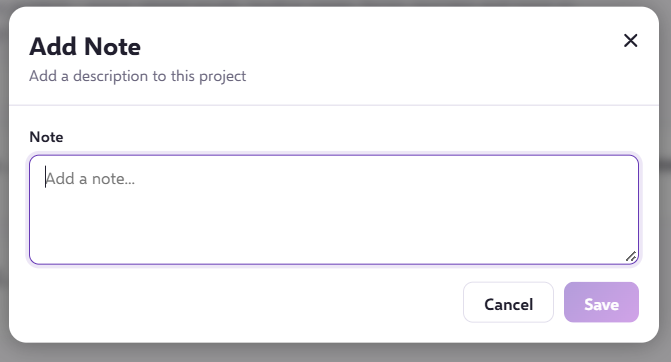
To delete the note, click Delete note in the bottom right:

To open and edit a note you have already made, look for the pen icon next to the folder or project:

Adding items to a project
Once you have created a project, click its name to open your empty project screen:

You can add an item such as a campaign, a template, a Journey, a Landing Page or a Segment. To add an item, click Add Item:

Next, select the type of item you want to add:

You can then search for the item by typing its name into the Name field:

Once you have added your item, it will appear in your project list:

Helpful link
If you are new to Segments and want to add one to a project, learn more in our Segments article.
Creating folders
To create a folder, click New Folder, then enter the name you want the folder to have inside your project:

Once added, your folder will appear inside the project view. Open the (...) menu to see the options available:

Item options
Each item you add has its own options, such as editing an email or opening a report page:

The View in list option opens the item and brings it to the top of the item list page. When the page opens, the item you want is highlighted in yellow for a few seconds:

Moving an item or folder
Tick the top checkbox next to your folder or project name, then select the items you want to move. Alternatively, choose the move option from within the item menu:

The Move menu will appear at the bottom. You can now navigate to any project or folder you want to move the items into. Until you have chosen a destination, the Move Here option is not available:

Once you have found a new home for the item, click Move Here to move it to your chosen destination:

Adding items from other areas of the platform
You can add any item to a project or folder by opening the item's menu and choosing Add to Projects or View in Project Folder:


Add to Project
Click Add to Project and the Add to Project box will open at your project list. Select the project you would like to add your item to:

You can then navigate to the folder you want to add your item to, or use the New Folder option to build a new folder within the project:

View in Project Folder
This option searches your projects to find where the item is saved.
If the item is not in any project, you will be told, and you can add it to a project by clicking Add to Project:

If the item is saved within a project, you will be shown which project and folders it lives in. Click the location to see the item in the project, alongside the other items in the folder:

Need a hand?
If you have any questions, reach out to us on live chat using the chat bubble in the bottom right of the Force24 platform. Our team is ready to help whenever you need it.