
DESIGN YOUR & CONFIGURE POP-UP
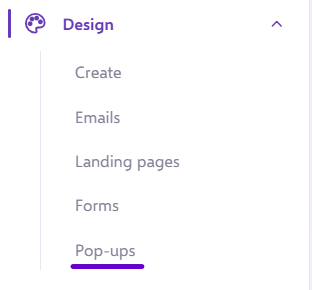
Now we are ready to begin our design of our Pop-Up. Click on Pop-Ups on the side navigation, under 'Design':
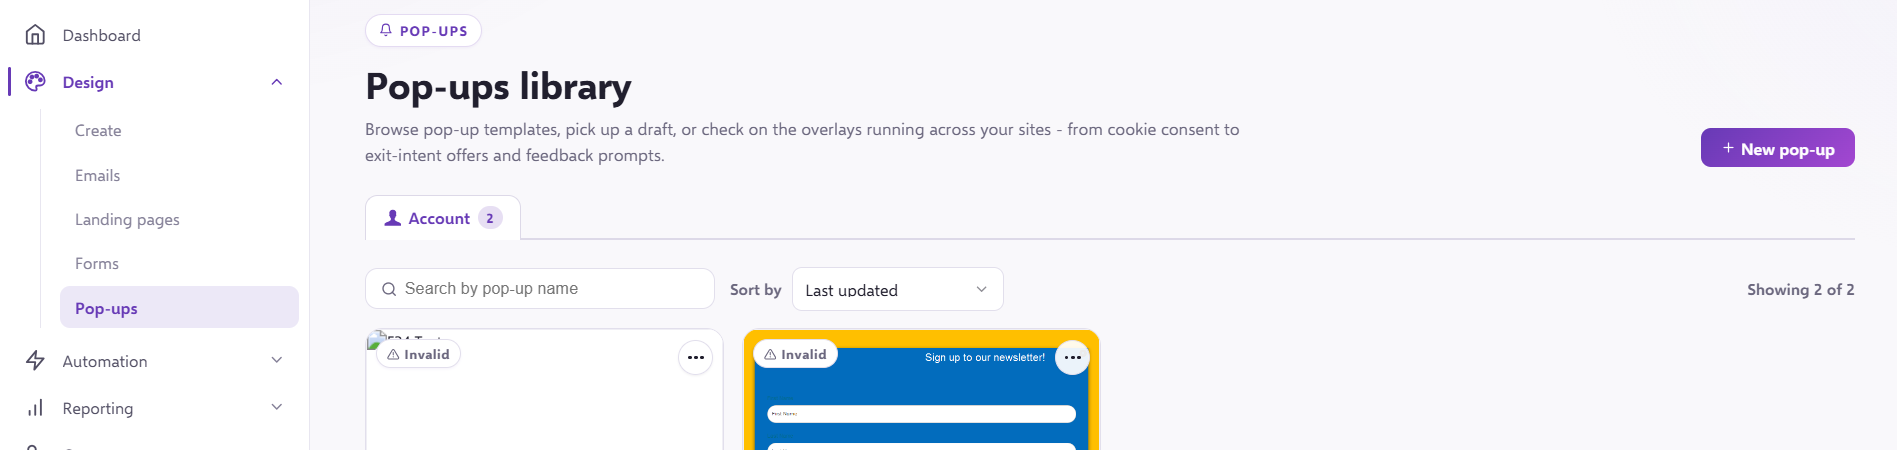
Once you have clicked here, you can create a new one at the top-right of the page:
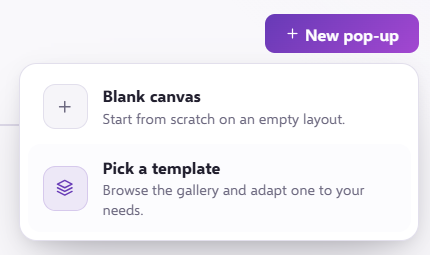
Then, you can either choose from a template or a blank canvas:
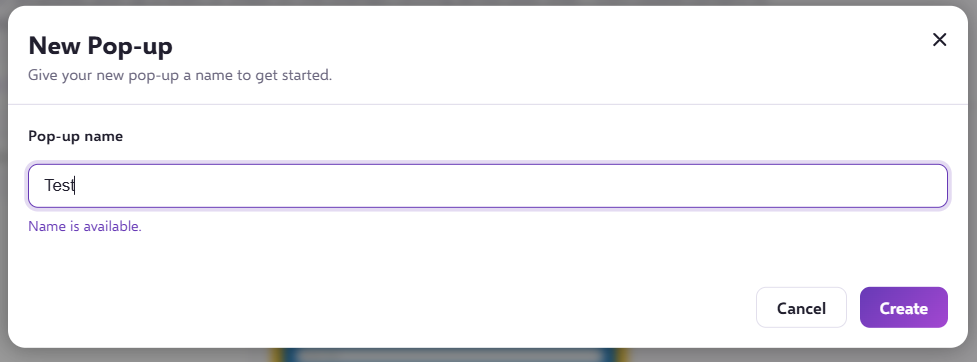
Give your Pop up a Name and hit the create button:
Once you have created the name of your Pop Up you are presented with the builder. The main building area is located on the left-hand side:
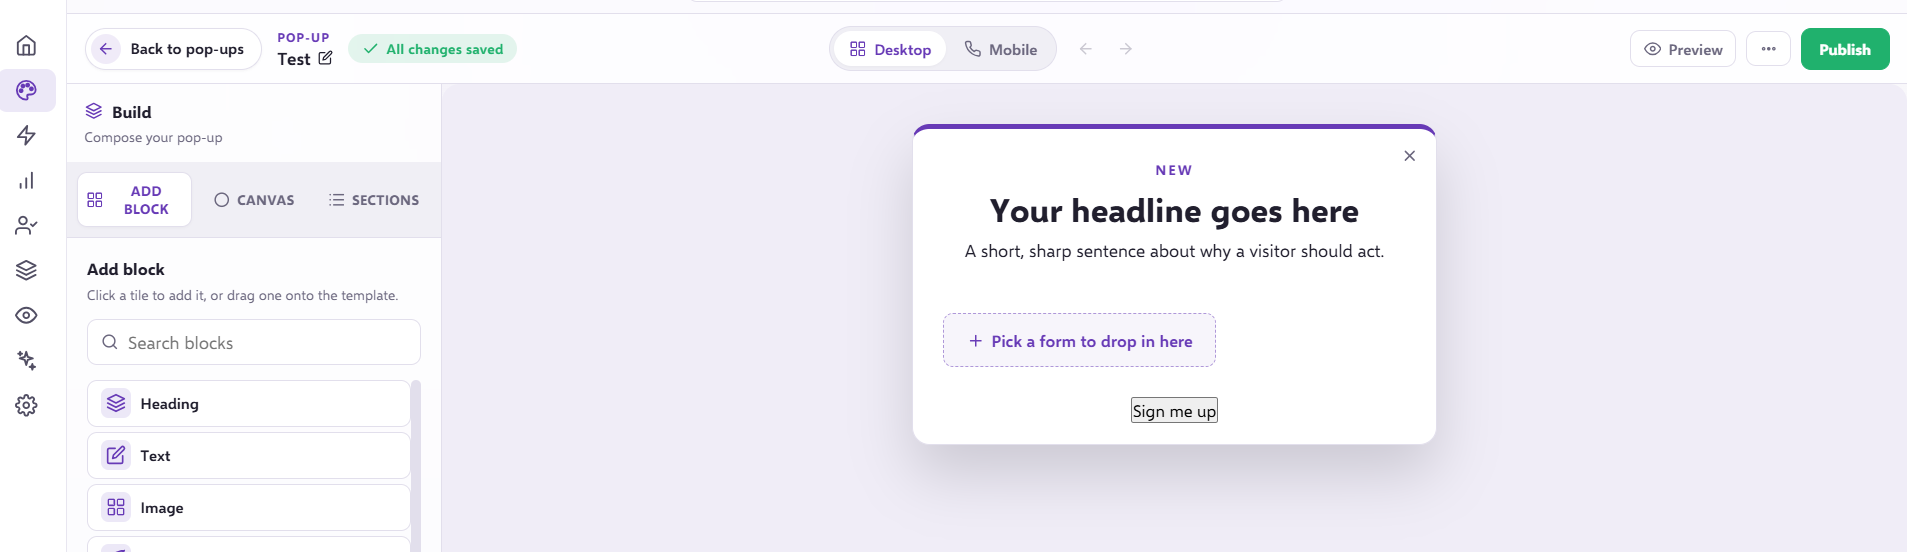
The main build area, is split into 3 areas; 'Add Block, 'Canvas' and 'Sections'
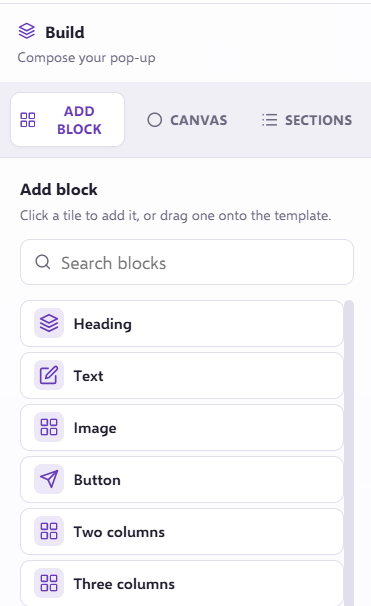
The 'Add Block' section allows you to add text, images, CTA buttons and columns to your Pop-Up.
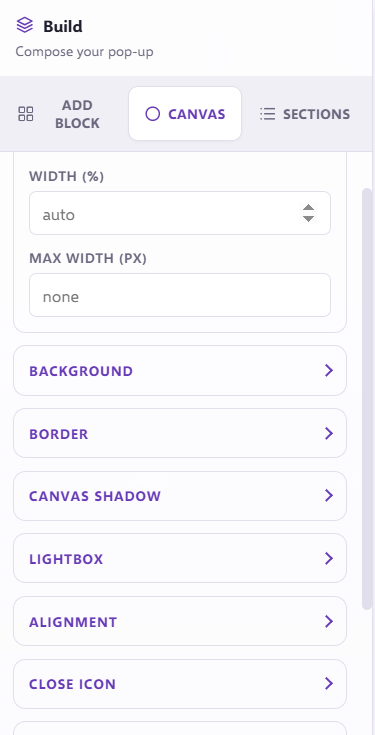
The 'Canvas' tab allows you to specify the max width and height of your Pop-Up, along with other styling settings, such as the background colour, border styling, shadows, alignment and close icon styling.
We would recommend going down this side menu and alter what you need with this.
You can alter the following things down this navigation:
Canvas Width- allows you to change the % of size of the canvas on the website or indeed change the width in px.
Canvas Background - allows you change the background colour of the canvas or add in an image to be the background perhaps a textured image to ensure the pop up stand off the page.
Canvas Border – Do you require a border you can select a style
Close Icon – You can pick an icon to enable contacts to close the popup down. You can decide to set the mode to either inside dedicated row, Inside -over content or outside the canvas. You can also use the offset x and Offset Y to ensure you have the position of choice.
Canvas Shadow – If you require a shadow on the canvas for this Pop Up then you can set this here and specify the Offset x, Offset Y, Spread and Blue on this.
Canvas Position – You can set margin and padding to the canvas to set where this will be placed.
Canvas Typography – You can change the fonts sizes, colour, style etc on the whole canvas here.
Canvas Cells Default – Here you can set a default value for the margin and padding between the cells.
The 'Sections' allow you to highlight each area and delete them if needed.
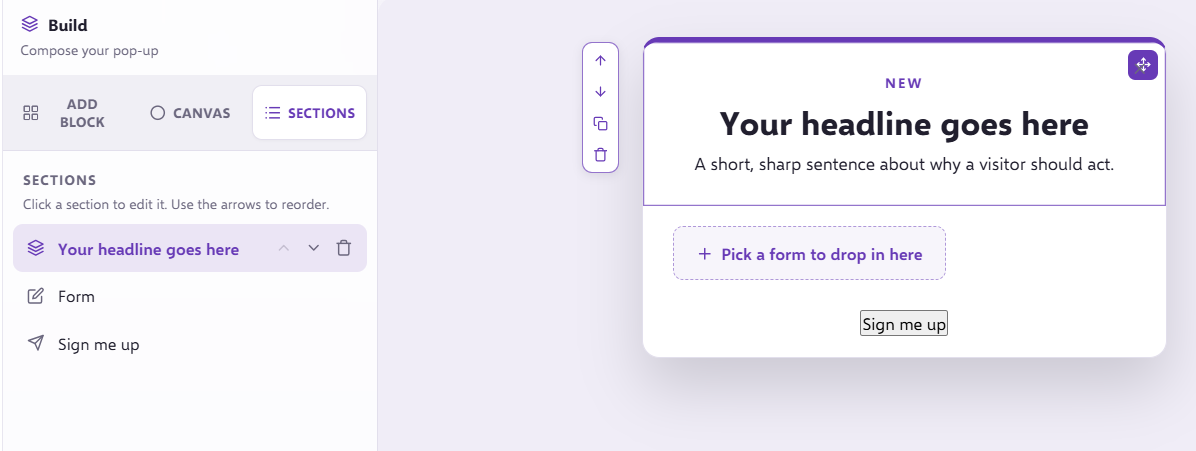
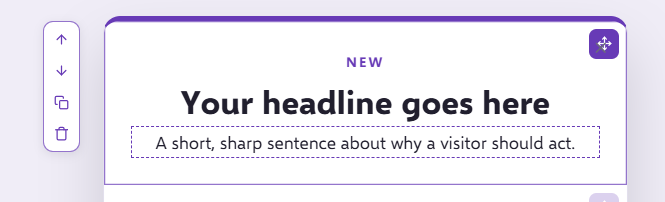
You can then directly type into your Pop-Up and edit the text:
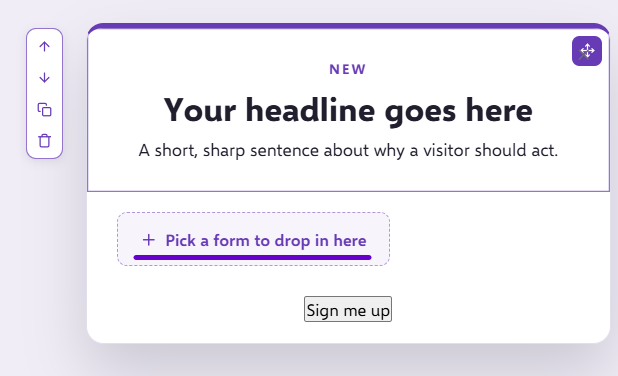
To add a form into your Pop Up, click the + icon and select your chosen form.
Finally, when you are happy with how your Pop-Up looks, the top bar in the Pop-Up builder will also give you the option to show your Pop up in preview.
Go to Step 3 - Your Pop Up Triggers and Activation
If you have any questions, feel free to reach out to us through the live chat function available bottom right in your Force24 Platform. Our team is ready to assist you and provide support whenever you need it!