
This article explains how to upload, add, edit and delete data in your Nexus External Data Objects.
Uploading data with a data upload
To upload a new data set to External Data using a data upload, go to the Nexus dashboard and make sure you are on the Overview section. Click Add new data beside the Object you want to upload your data to, then select the data upload option. You can also use the Quick action for adding data:
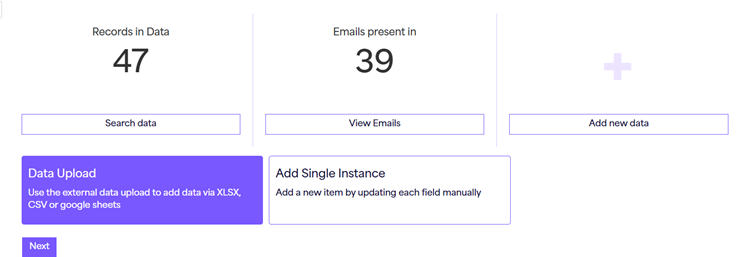
When uploading your data set, make sure you map the correct external ID to each of your rows. The external ID is the ID that matches your data, and it is used to update the values for each row of data in the External Object. This makes sure each row maps to the correct data, and that existing data is updated or new data is created where appropriate.
A data upload accepts three file types: CSV, XLSX and Google Sheets.
Want to know more about uploading data?
If you want a full walkthrough of the upload process, learn more in our Data Upload article.
Adding data to a single instance
To add data to a single Object instance, go to the Nexus dashboard, make sure you are on the Overview section and click Search data:
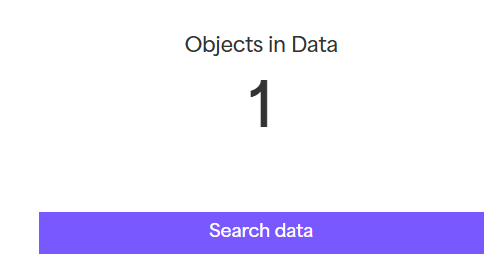
This takes you to a contact search style page, designed to view the external data relating to the Object you selected. You can populate the query to view any data relating to this data set:
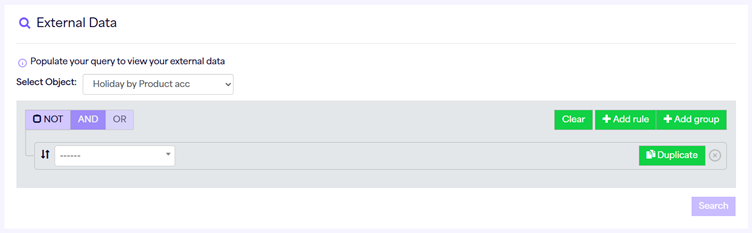
After clicking Search on an external data query, you will see the Show ID or Hide ID option, which shows or hides the external ID for each of your instances. There is also an Add button beside it:

Click Add and you can add data to your external data set. You will need to enter a unique external ID, as well as the data you would like to add.
If you are happy with the data, click Save. If you want to add more, click Save & add another to keep adding to your data set.
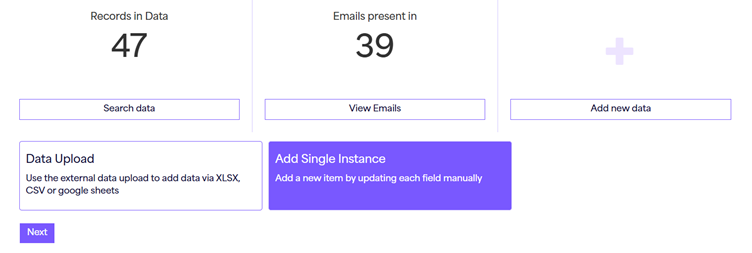
You can also add data by clicking Add new data and selecting Add single instance, which prompts you to enter the required fields for the new row:
Editing data in a single instance
To edit the data within a single Object instance, go to the Nexus dashboard and click Search data beside the Object you want to edit data within. This takes you to a contact search style page, designed to view the external data relating to the Object you selected.
Populate the query so you can locate the data you want to edit. After clicking Search on an external data query, you will see the Edit option beside each of your Object instances:
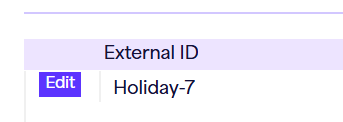
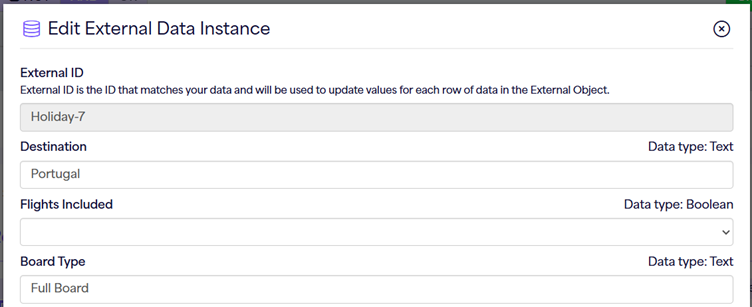
Click Edit and you can change the data within your external data set. The external ID is prepopulated and cannot be edited, to avoid any additional work for you:
Deleting a single instance of External Data
To delete a single instance of data from your Object, go to the Nexus dashboard and click Search data beside the Object you want to delete data from. This takes you to a contact search style page, designed to view the external data relating to the Object you selected.
Populate the query so you can locate the data you want to delete. After clicking Search on an external data query, you will see the Edit option beside each of your Object instances:
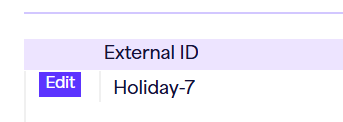
Click Edit to open the data within your external data set. The external ID is prepopulated and cannot be edited:
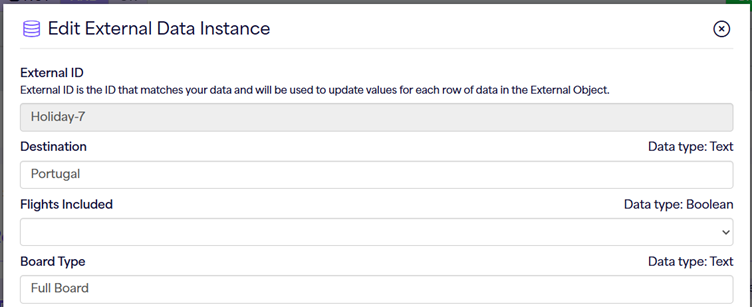
Scroll to the bottom of this window and you will see a red Delete option. Clicking it deletes the single row of data from your data set.
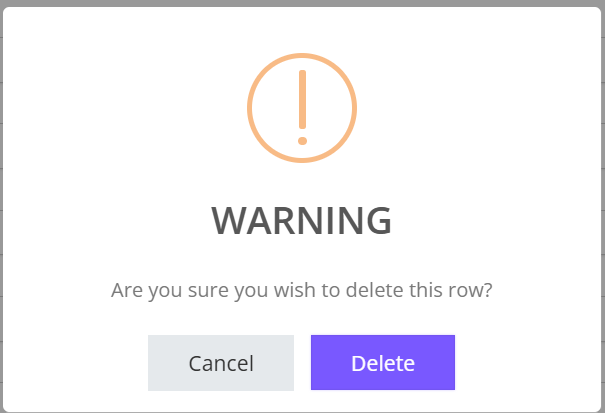
You will need to approve this change to continue. A window will appear asking if you are sure you want to delete. Click Delete to go ahead, or Cancel if you have changed your mind, in which case no data will be removed from your account:
Bulk deleting data from an External Data Object
Master user only
You need to be the master user of the account to bulk delete data within an Object, as this permission is only granted to master users.
If you are the master user, go to the Nexus dashboard and click Search data beside the Object you want to delete data from. This takes you to a contact search style page, designed to view the external data relating to the Object you selected.
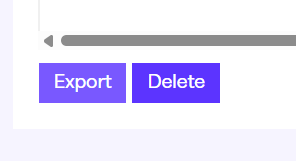
Populate the query to view and narrow down the data you want to delete. Once your criteria are set and the data shown is what you want to delete, click the Delete option at the very bottom of the page:
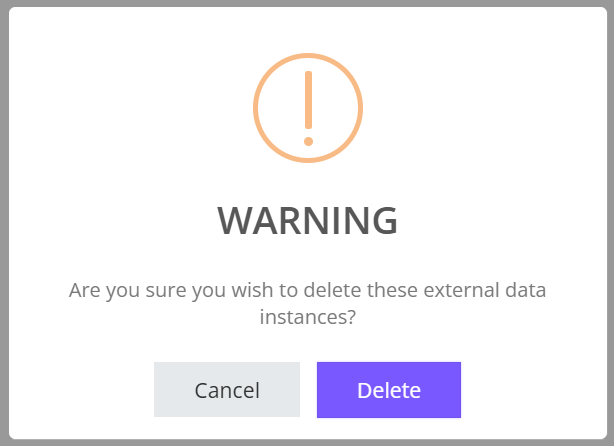
A pop-up will appear to confirm your choice. Select Delete if you are happy to go ahead with the deletion, or Cancel if you have changed your mind:
Need a hand?
If you have any questions, reach out to us on live chat using the chat bubble at the bottom right of your Force24 platform. Our team is happy to help.