
Nexus can be as simple to use as adding a single snippet to your template, enabling the repeater option, and populating it with your chosen External Data fields.
New capabilities are unlocked using repeaters. These take the manual work out of stock and content management: you create a snippet once, and it repeats as many times as needed based on what is available in real time.
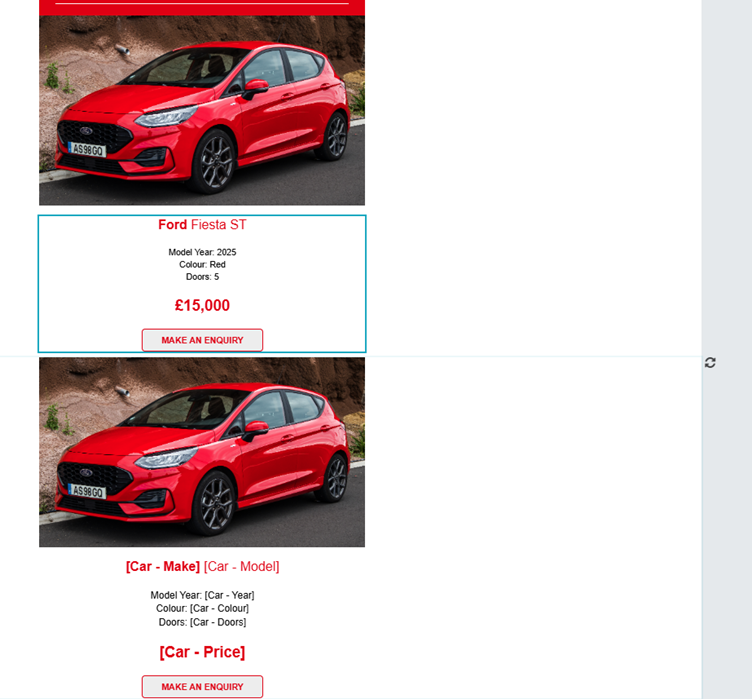
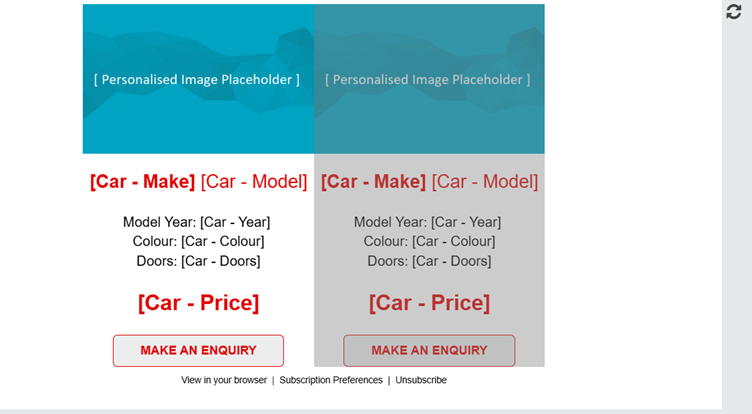
For example, instead of creating an email for each available Ford Fiesta, you could have one email that shows whichever cars match your Nexus Journey criteria at that time. Whatever stock is available and matches what your contact wants to see appears in the email, repeated as many or as few times as you like:
Need an Object to use first?
If you have not yet created the Object and fields to hold your data, learn more in our How to add/create new Objects and fields article.
Adding external data to your template
Step 1: Open your template
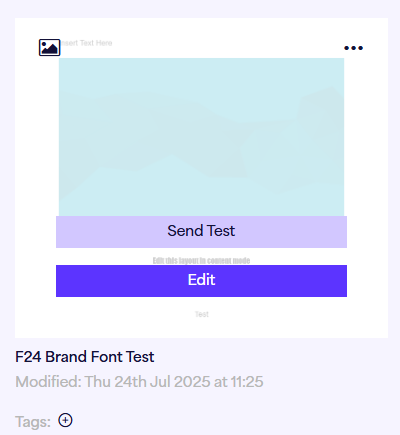
Go to the Email Builder and find the template you want to add external data to. Hover over the template and click Edit if it is a draft. If you are selecting a template from the Templates Library, this will read Use instead:
Step 2: Open the layout section
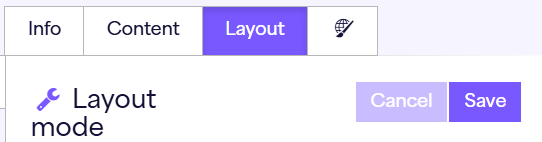
Go to the Layout section of the Email Builder:
Step 3: Add a new snippet
You need to add a new snippet to your template in order to use external data within it. The snippets you can use with repeaters are Image, Text, Image & Text, and Text & Image. It must be a single column snippet, as the repeater can add multiple columns when it is created:
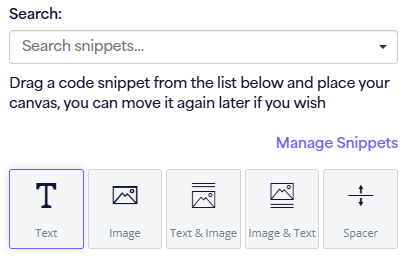
Step 4: Enable repeaters
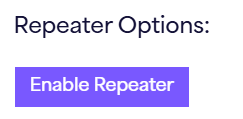
Drag and drop your new snippet into the template, then choose the Enable repeaters option from the right-hand toggle menu:
Step 5: Choose your Object and repeater settings
After selecting this option, you need to choose which external data Object you want to connect the snippet to, then enter your repeater settings. These include the repeat type, the order of the repeating, and the number of times it will be repeated:
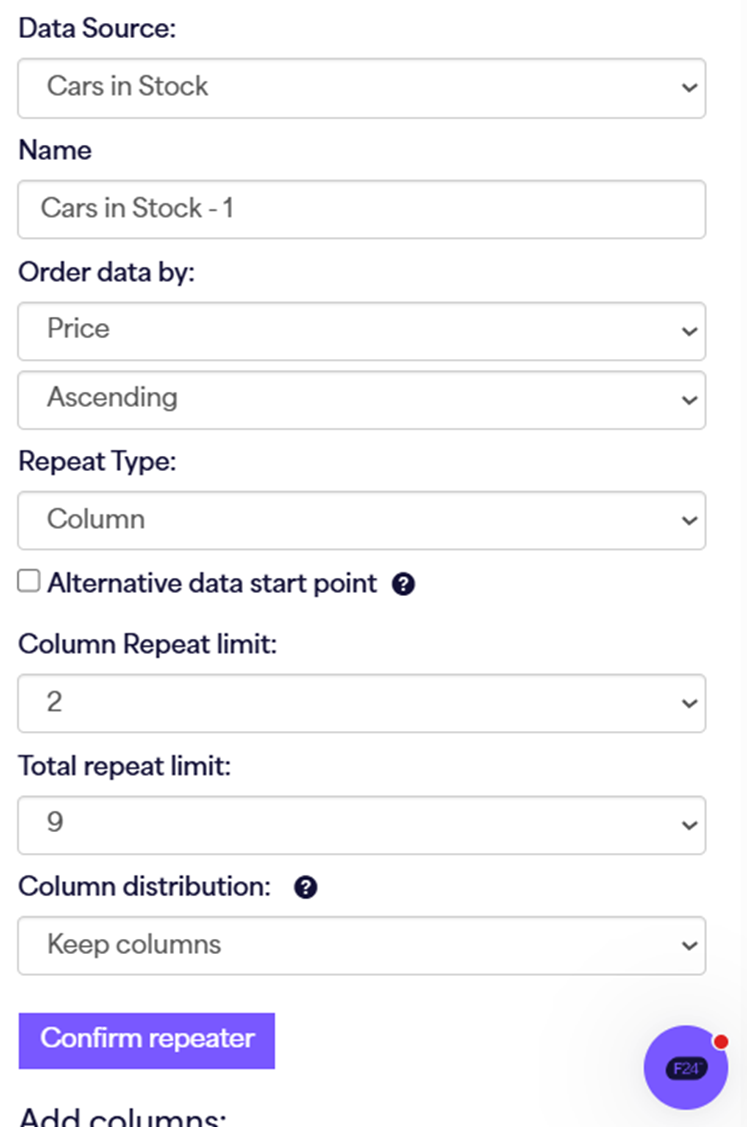
The selection here determines which Object instances are shown within the email. The order can be controlled by the Journey as well as in the email, and changes made in the Journey take precedence over the selection made in the email. Columns can also be repeated onto multiple lines. Each setting is explained in the Repeater settings explained section below.
Testing your repeaters
To test your email template with repeaters in it, go back to the Info tab and update your Repeater send test setup settings. This lets you choose which options from your live data set you want to appear in your test:
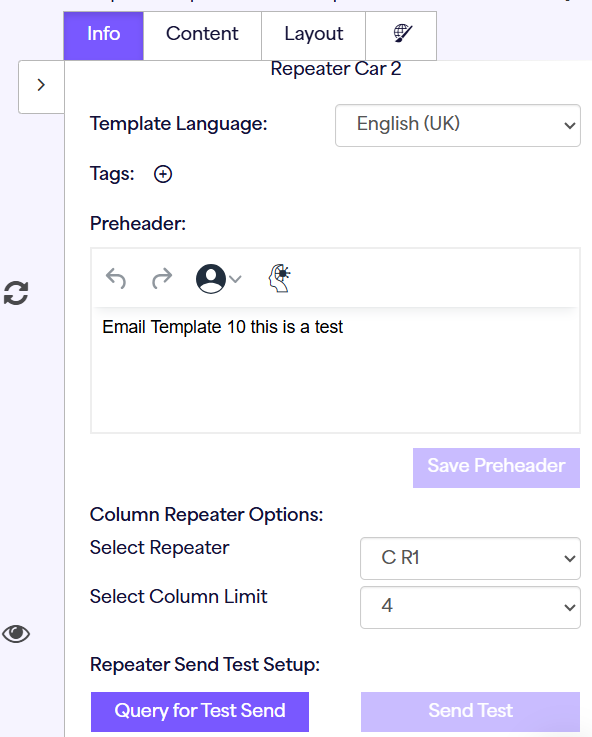
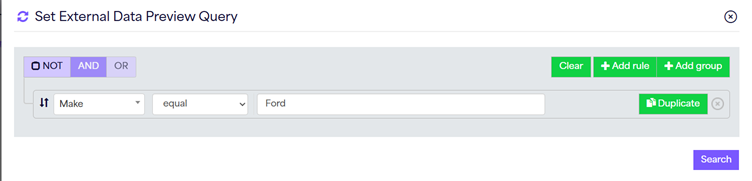
For example, if you want the email to show all cars where the make is Ford, up to the maximum already set in the repeater settings, populate the query as follows:
Make > equal > Ford
This filters all the cars that meet the criteria, and they appear in the order set in the repeater settings. So if the repeater settings are based on price descending, the cars will appear in that order in the template, up to the limit you have set, provided enough cars meet the criteria:
Using custom objects
Email templates can contain custom Objects and external data. To do this, connect your Object to the template and follow the steps above for any external data you also want to include.
Repeater settings explained
Data Source
This sets which Nexus Object you want to use within the snippet you have created. For example, this might be your cars in stock, MOT or service availability, or travel and holiday options.
Name
This is what the content block will be called. It helps later when you want to apply settings to that repeater block from the Journey itself. For example, you might call a block relating to your newsletters "Newsletters", and the block relating to the cars you have available "Cars in Stock".
Order data by
This sets how the data is ordered for the recipient. For example, you might want to show the highest priced cars first. You can change this option in the Journey settings at a later stage.
Repeat Type
The repeat type sets whether a snippet is repeated in columns, or in new rows or snippets. If the first block you create is a multi-column snippet, for example text on the left and an image on the right, these options may be limited to snippets only. This encourages best practice and a better appearance at smaller resolutions.
Alternative data start point
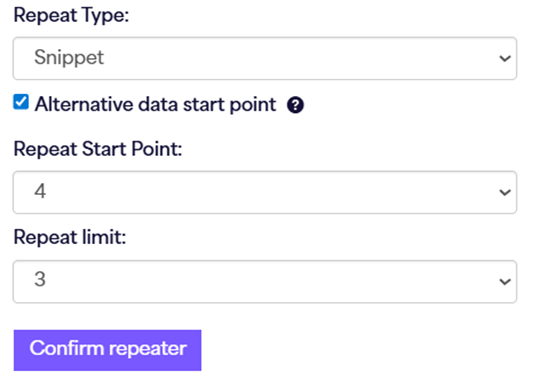
With this option selected, your next added snippet, which uses the same order data by settings, starts from a different row in your data. For example, one snippet could show items 1 to 4, followed by a break, and then your next snippet could show items 5 to 8. You define where each one starts.
To use it, add multiple snippets. On the second snippet, or any after it, check this option and enter where you want the selection to start from:
Column Repeat limit
If you select the repeat type as Column, you need to set how many columns across the snippet should be limited to. For example, a column limit of 4 means the snippet will not exceed 4, no matter how many matching items there are.
The same logic applies if there are not enough matching items. For example, if 3 items match but the column repeat limit is 4, the snippet shows 3 items.
Important
If no matches are found, the email will not be sent.
Total Repeat limit
This links directly to the column repeat type. If it is selected, you can choose the maximum number of items from your Nexus Object that can be shown. For example, if your column repeat limit is 2 and your total repeat limit is 6, the email will show 3 rows of 2, provided all of the matches are available.
Column Distribution
Column distribution sets how the columns appear over multiple rows when there is not enough Nexus data matching the Journey criteria to follow the rules set in the total and column repeat limits. It has three options:
- Keep columns: Shows all available instances of data, even if the rows end up with different column counts. For example, 4 on the first row and 2 on the second row.
- Balanced: Readjusts the rules for a better fit if there is not enough data to display the options originally set. For example, if the column repeat limit is 4 and there are only 6 available instances, it rebalances the layout to show 2 rows with 3 columns in each.
- No Gaps: Skips any row that will not match the column limit. Following the same example, with a column limit of 4 and only 6 available instances, it does not show the second row of 2 and shows just one row of 4.
Need a hand?
If you have any questions, reach out to us on live chat using the chat bubble at the bottom right of your Force24 platform. Our team is happy to help.