
You may be wondering what each of the sections mean when you click on the "Email" section of the platform. Luckily we are here to help!
There are five main headings at the top of the email section of the platform: Templates, Drafts, Published and Snippets.

We will go through each of these in turn and explain their function.
Templates
This is where your master templates will sit. There will be some standard F24 templates in this section which you can use and pop your own content in, or you can upload your own.
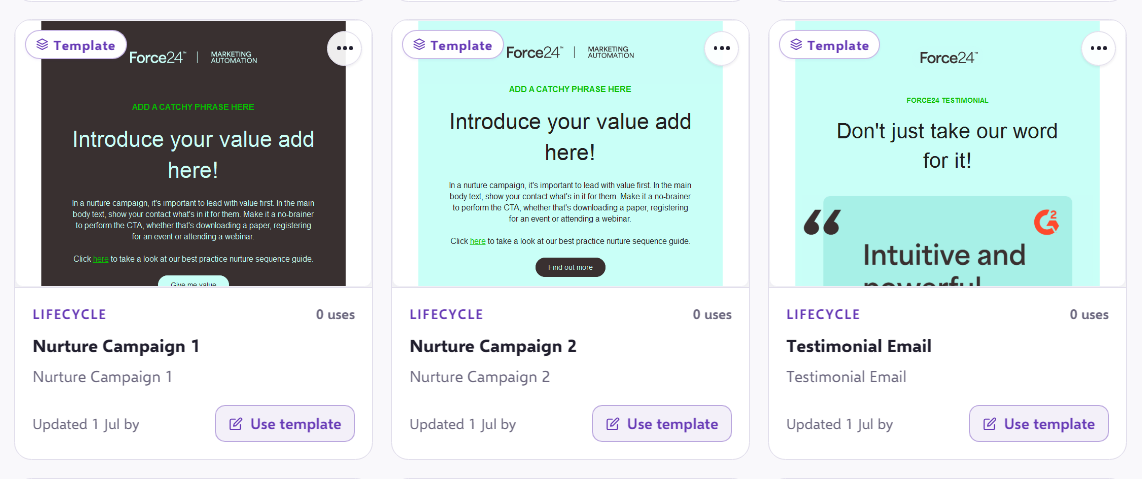
These are effectively just the basis on which you build your email template and are designed to be used over and over, meaning if you have a template that you really like or that is proving particularly successful, you can keep using this template and just populate with different content each time.
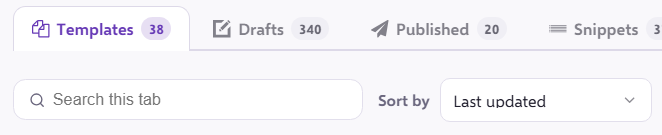
You can filter your templates by latest updated to oldest updated with this button just above where the templates sit, you can also search for a specific template using the search function here:
If you click Use on the template, this will save it into your drafts as an editable template.
Draft
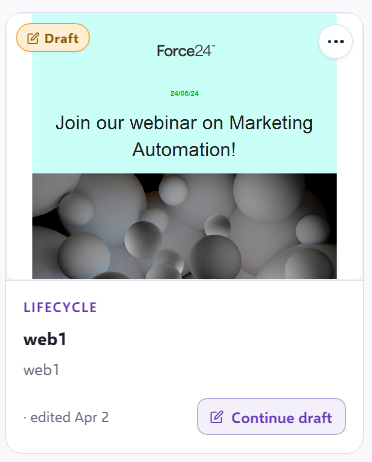
The drafts section is probably where you will spend most of your time. This is where any emails that you are currently working on will be and from here you can click 'Continue draft' where you can carry on editing the email
If you click the three dots at the top right of any draft template, you will be given a range of options;
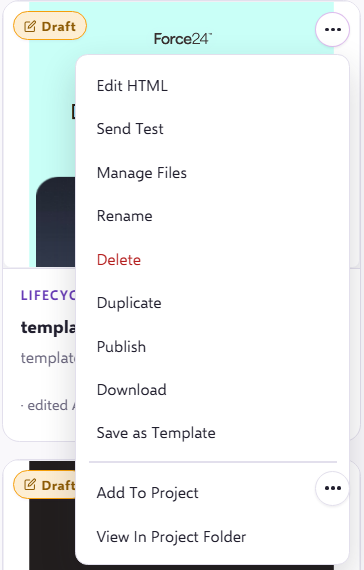
Here, you will be able to send a test, publish the template, download a HTML version of the template, or save it to your templates, to name just a few. Send Test is particularly useful for draft templates as it allows you to see what the email will look like in the inbox. We have an excellent article on test emails here. Once you have finished with your draft version of the email and are happy with how it looks in a test, the next step is to publish the email.
Published
Once you have published your draft, this is where it will be. There is also a drop down menu available for published templates if you press the three dots in the top right corner, but this time the options are more limited;
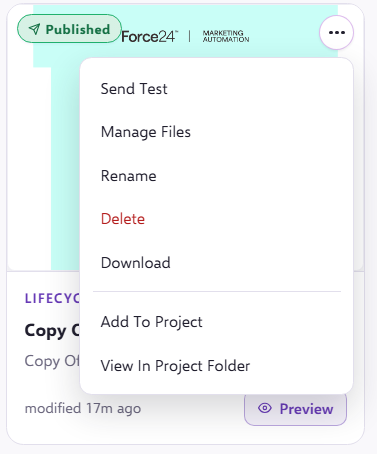
We have already covered the testing process, you can also download an HTML version of the email and rename the file if required. Now that the email has been published, it is available to use in a live campaign and send to your contacts. We have a useful guide on creating campaigns here.
Snippets
This is where all your snippets will sit. We have a separate article on how to manage your snippets which provides more detail on this.
Common features across all sections
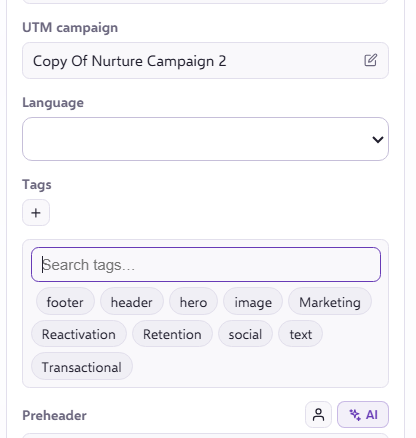
- Tagging- You can add tags to both draft and published emails. To tag a draft email, simply open the email and locate the Tags section on the right-hand side. From there, you can either select an existing tag or create a new one. To create a new tag, enter the tag name into the field and select the option to create it when it appears. Using tags is a great way to keep your email templates organised and make them easier to find and manage.
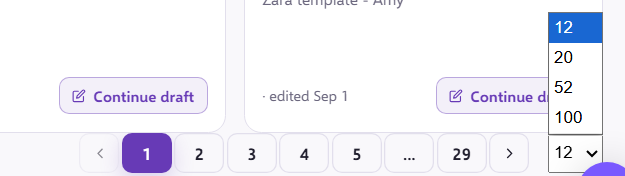
- Number of templates per page - you can customise this with the below drop down which goes up to 100!
If you have any questions, feel free to reach out to us through the live chat function available bottom right in your Force24 Platform. Our team is ready to assist you and provide support whenever you need it!