
Setting up your email is extremely simple and can begin in one of 2 ways.
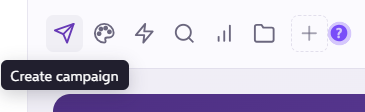
Either by selecting the paper plane, 'Create Campaign' icon in the top left of your screen:
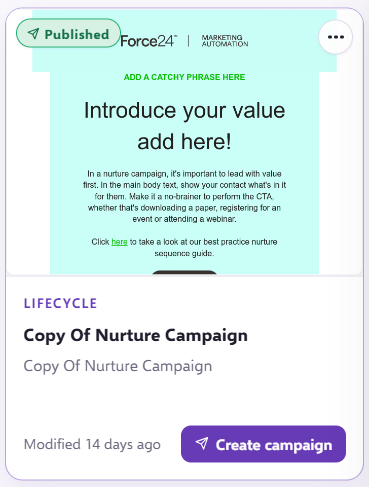
Or by selecting a 'Published Template' to make a campaign:
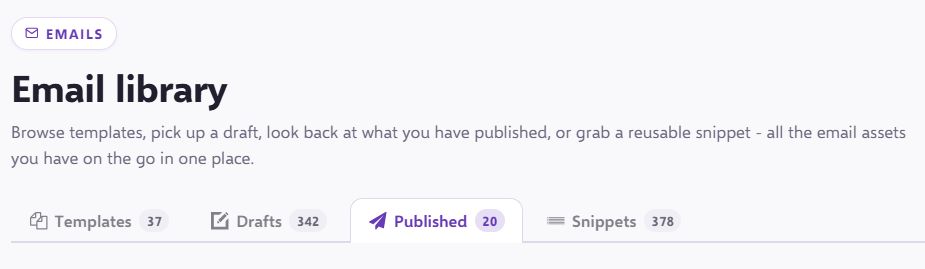
Selecting a Published Template to make a campaign:
From your published template you can select the 'Create Campaign' button.
Setting up an email campaign by selecting the paper plane, Create Campaign icon:
Once you have clicked the icon, you will be presented with three options as to which type of campaign you wish to create:
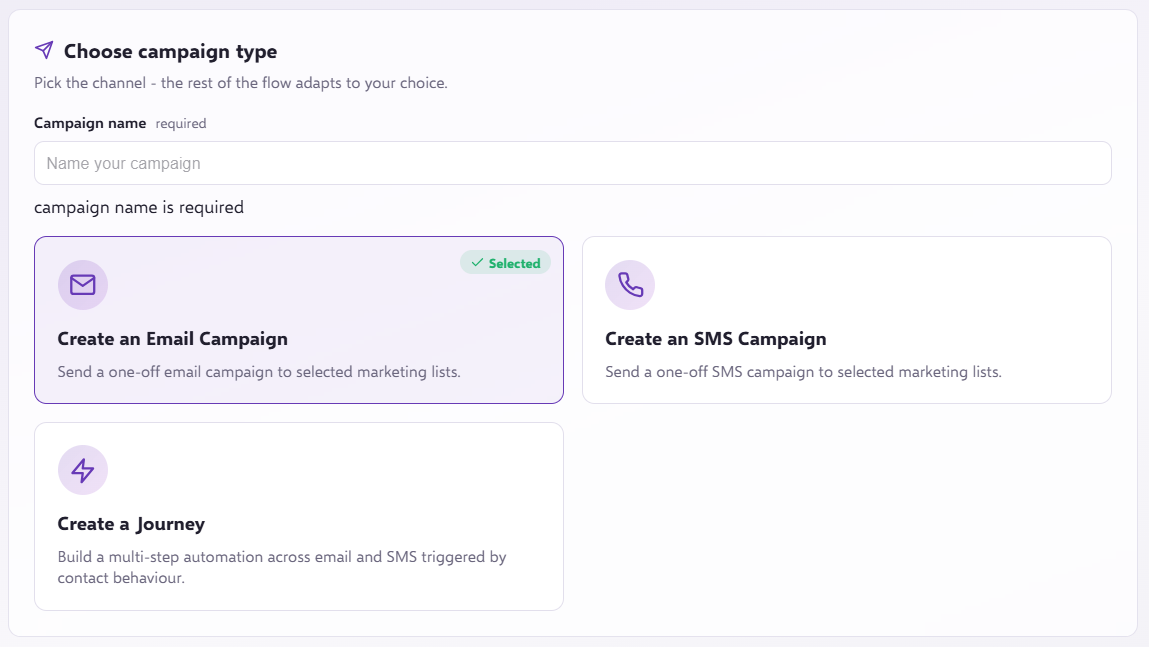
Select 'Create Email Campaign' from this pop-up box and give your campaign a name. Next, you will be presented with the 'Campaign classification' pop up box.
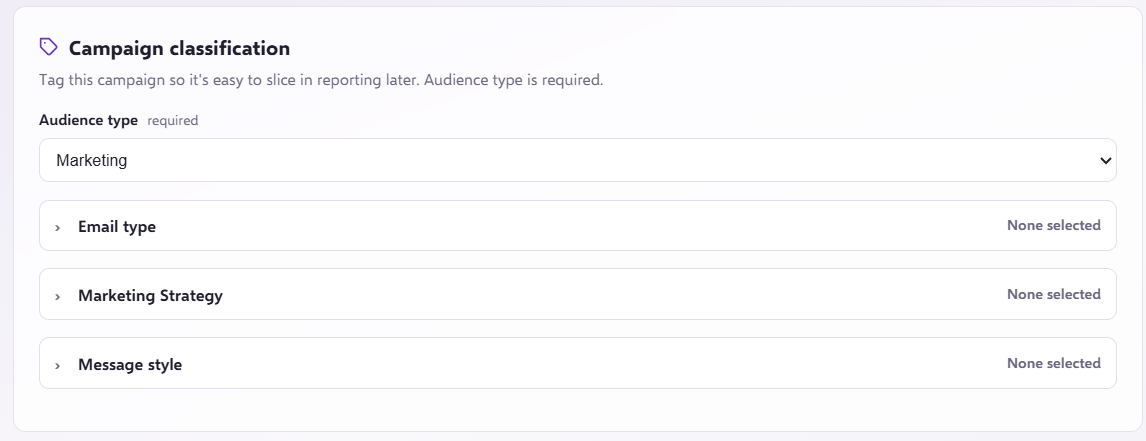
For help and advice on using campaign tags, follow the link below:
Once you have applied the campaign tags and clicked 'Continue', you will be taken to the 'Email content' page:
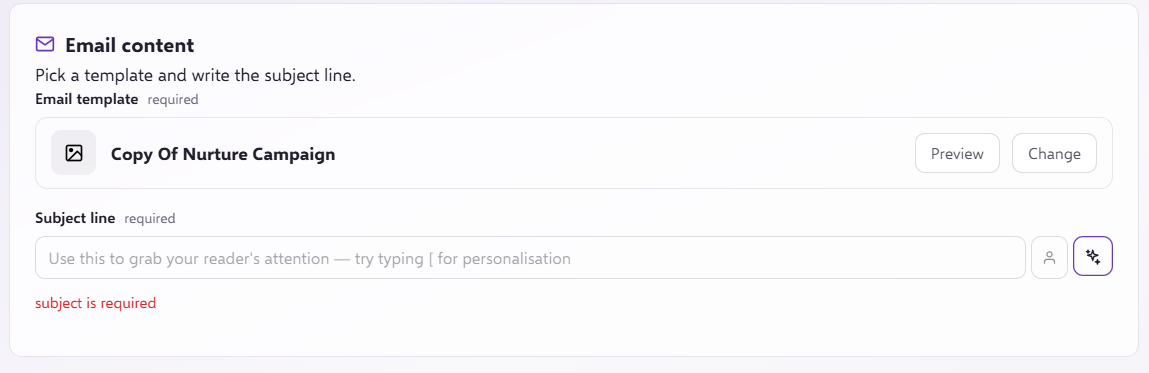
On this page you may select any template or use the 'Search' function to find templates by their name.
Select the template you wish to use and decide on a subject line.
You will then be taken to the 'Audience' page, where you can:
Select the Segment you wish to use in your campaign. You can use the 'Search' function to find any active Segments.

Once you have decided on your list click 'Continue' and you will be taken to the 'Sender and settings' page where you can;
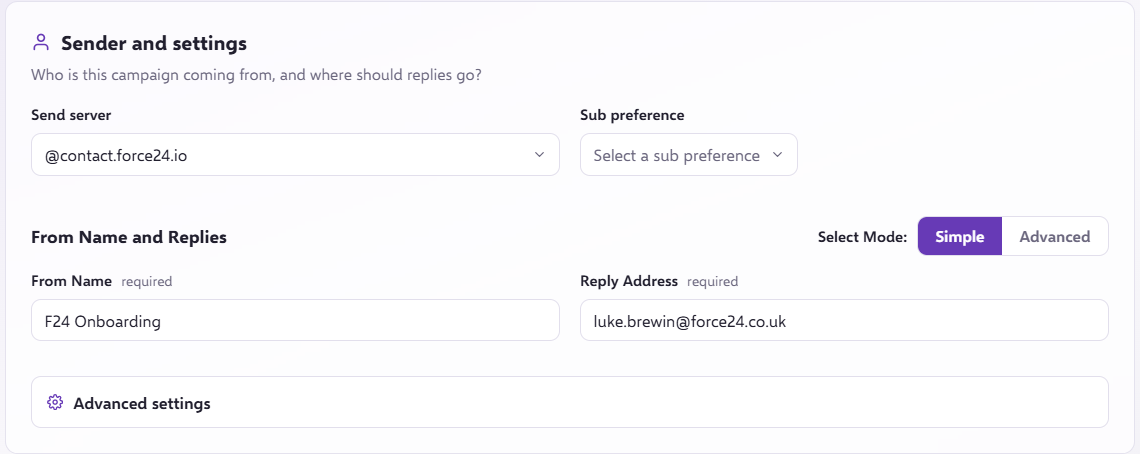
'Send Server', this will determine the send profile used in your campaign:
'Sub Preferences' - allows you to select the category that the campaign belongs to. This is to ensure users that have elected to not receive emails from that category can be excluded.
For help in managing your subscription preferences, please follow the link below:
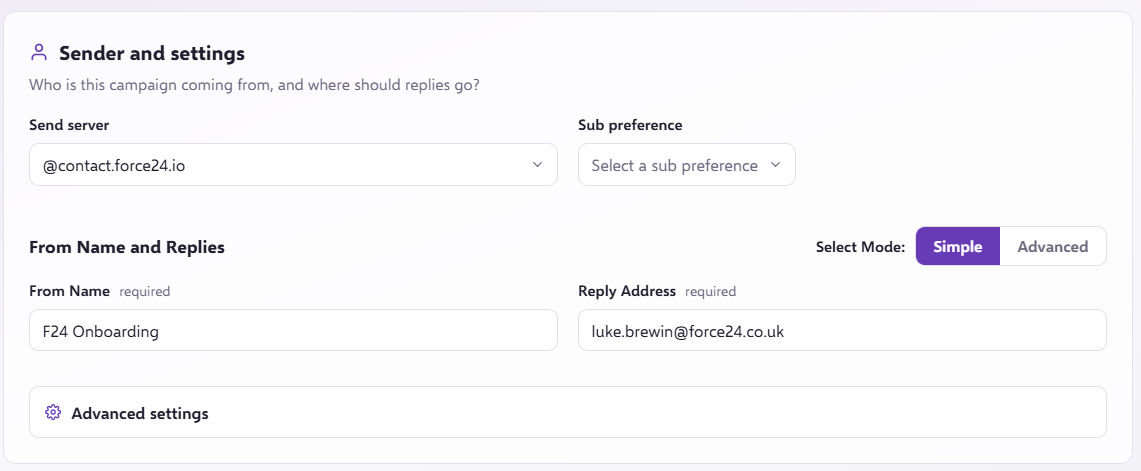
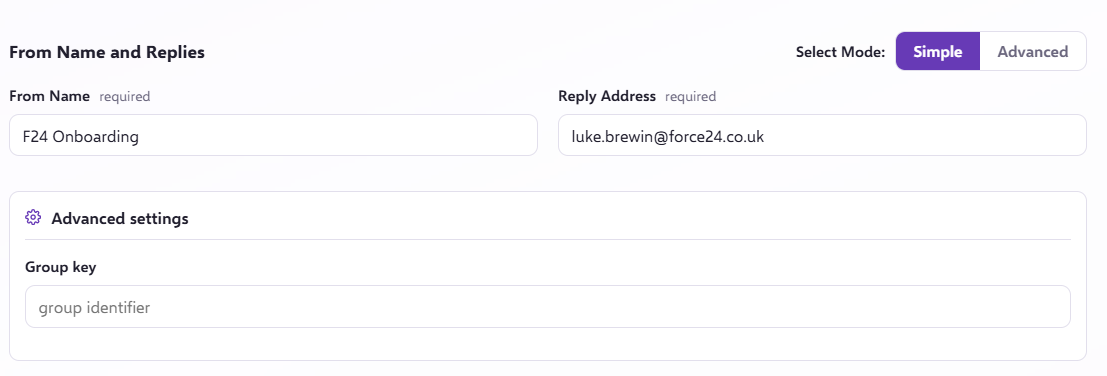
‘From Name' - this is the name your recipients will see in their inbox as the 'Sent From' name.
;Reply address' - this is the email address that will be used by the Force24 platform to redirect legitimate replies that are received. This email address will not be seen by the outside world.
'Group key' this is under the 'Advanced settings' and is where you can manually associate campaigns together to give a single report.
When you are happy you may select 'Continue'.
You will be taken to the 'Campaign Schedule' page.
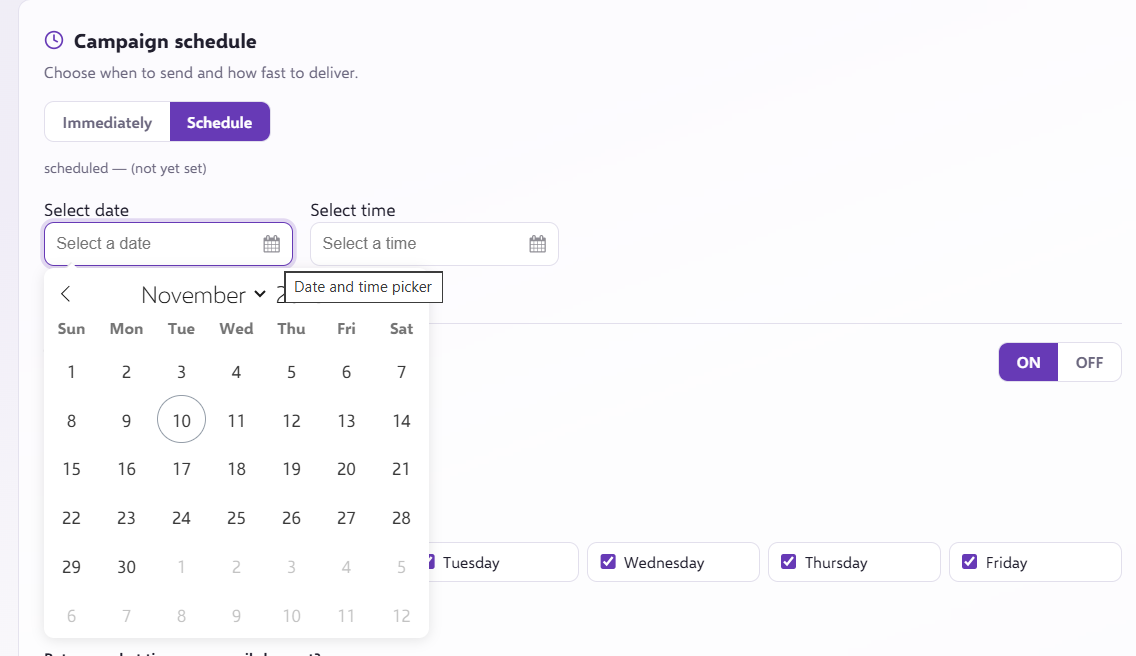
This page will allow you to select if you would like to schedule your campaign or launch it immediately:

If you select 'Immediately', the campaign will begin to queue as soon as you approve the Email Campaign.
Or, you may schedule the campaign for any time of the day or week:
Once you are happy with the delivery time for you email you may choose to use 'Throttling'.
For help and advice on using throttling, follow the link below:
Or, for advice on managing campaign to a 'High Risk' data set please see:
Approved Cold Data Mailing Approach
Once you are happy with your 'Campaign Schedule' settings you may select 'Continue'.
This will take you to the campaign approval screen, where you will see a summary of your campaign components.
If you wish to make any changes you may click the 'Change' button:
If you wish to preview how the email will look for any of the recipients you may scroll to the 'Marketing Lists' section:
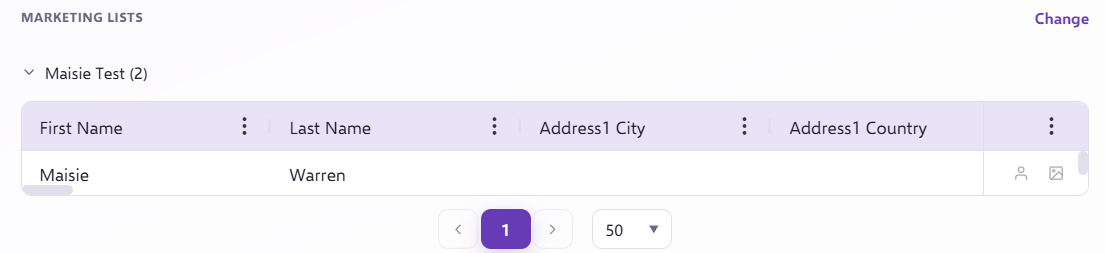
By clicking the drop down arrow of the Marketing List, this will expose the contacts grid of recipients.
The picture icon will open a version of the email in a preview screen and allow you to view the email for that contact, including any personalisation.
Once you are happy with your campaign you may select to perform one of the following actions:

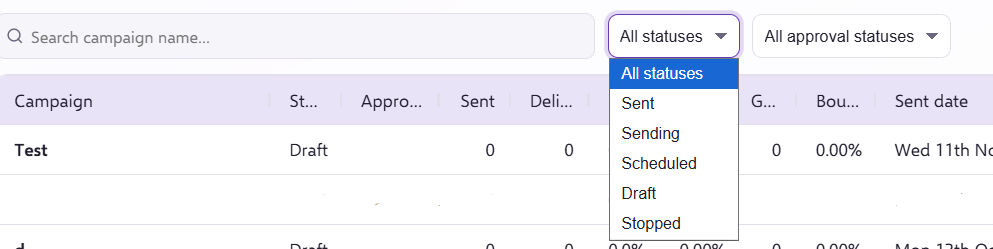
'Save as Draft' - This will save the campaign and place it into the 'Draft' state for you to continue working on later. You can find these campaigns quickly by going to 'Your Campaigns' in the left navigation and selecting the filter icon in the top right of the screen:
'Save for Approval' - This will place the campaign in a pending approval state, this will allow an approving user to approve and launch the campaign later.
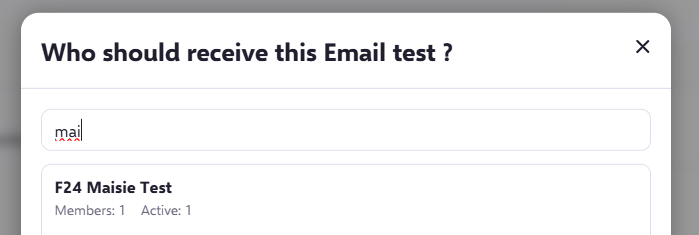
'Send Test' - This will open the send test pop up box and allow you to select a test marketing list to send your email to.
For help on creating a test marketing list, please follow the below link:
Build a test Segment and add contacts
The 'Send Test' pop up will have enforced every aspect of the campaign to ensure you are testing the full campaign; send server, subject line etc. If your test list is not appearing in the list, make sure you have followed the instructions on creating a test list.
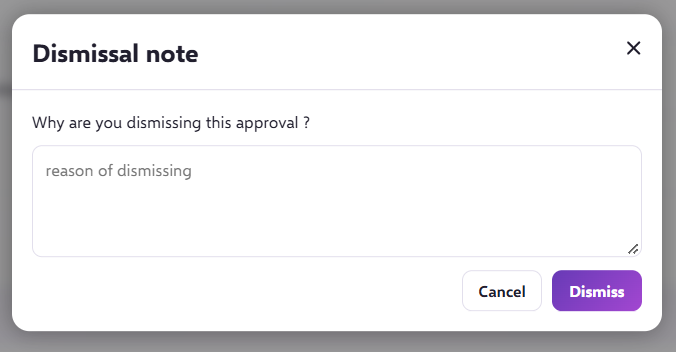
'Dismiss' will delete the campaign. Before allowing this you must provide a 'Dismissal note', this will prevent you from accidentally dismissing a campaign:
'Approve and Launch' - This will place the campaign in the 'Launched' state and will begin to send. No further edits may be made after this point to the campaign.
If you need any further help or advice, please contact your Force24 Account Manager.